Ta strona nie jest obecnie dostępna w Twoim języku. Możesz zapoznać się z tłumaczeniem automatycznym, korzystając z usługi Google Translate. Nie jesteśmy odpowiedzialni za świadczenie tej usługi, ani też wyniki tłumaczenia nie były przez nas sprawdzane.
Jeżeli chciałbyś uzyskać więcej pomocy skontaktuj się z nami.
Enhancing micro-milling precision with FORTiS-N™ enclosed encoders
Anderson Europe (Anderson) GmbH has been producing high-precision CNC-controlled machines for over six decades. It started with PCB drilling machines — as Germany ramped up its PCB production in the late 1950s — and expanded to include complete turnkey solutions for various industries including semiconductor and automotive.
The company prides itself on excellent customer service and technical support, and offers to work with customers to help solve their problems. Anderson depends on Renishaw's cutting-edge metrology solutions to ensure the highest levels of accuracy and quality. In this case study, we explore how Anderson enhanced its ProSys ADV+ milling machines with the FORTiS-N enclosed encoder, XL-80 laser interferometer and QC20 ballbar.
About ProSys ADV+
The CNC-controlled ProSys ADV+ is a compact, fully enclosed milling machine. The machine base is made of granite for rigidity and stability, and linear encoders are used on three axes.
Challenge
One of the challenges faced by an Anderson customer was in machining a workpiece made from Kovar, an iron-nickel-cobalt alloy with a low thermal expansion coefficient, close to that of borosilicate glass.
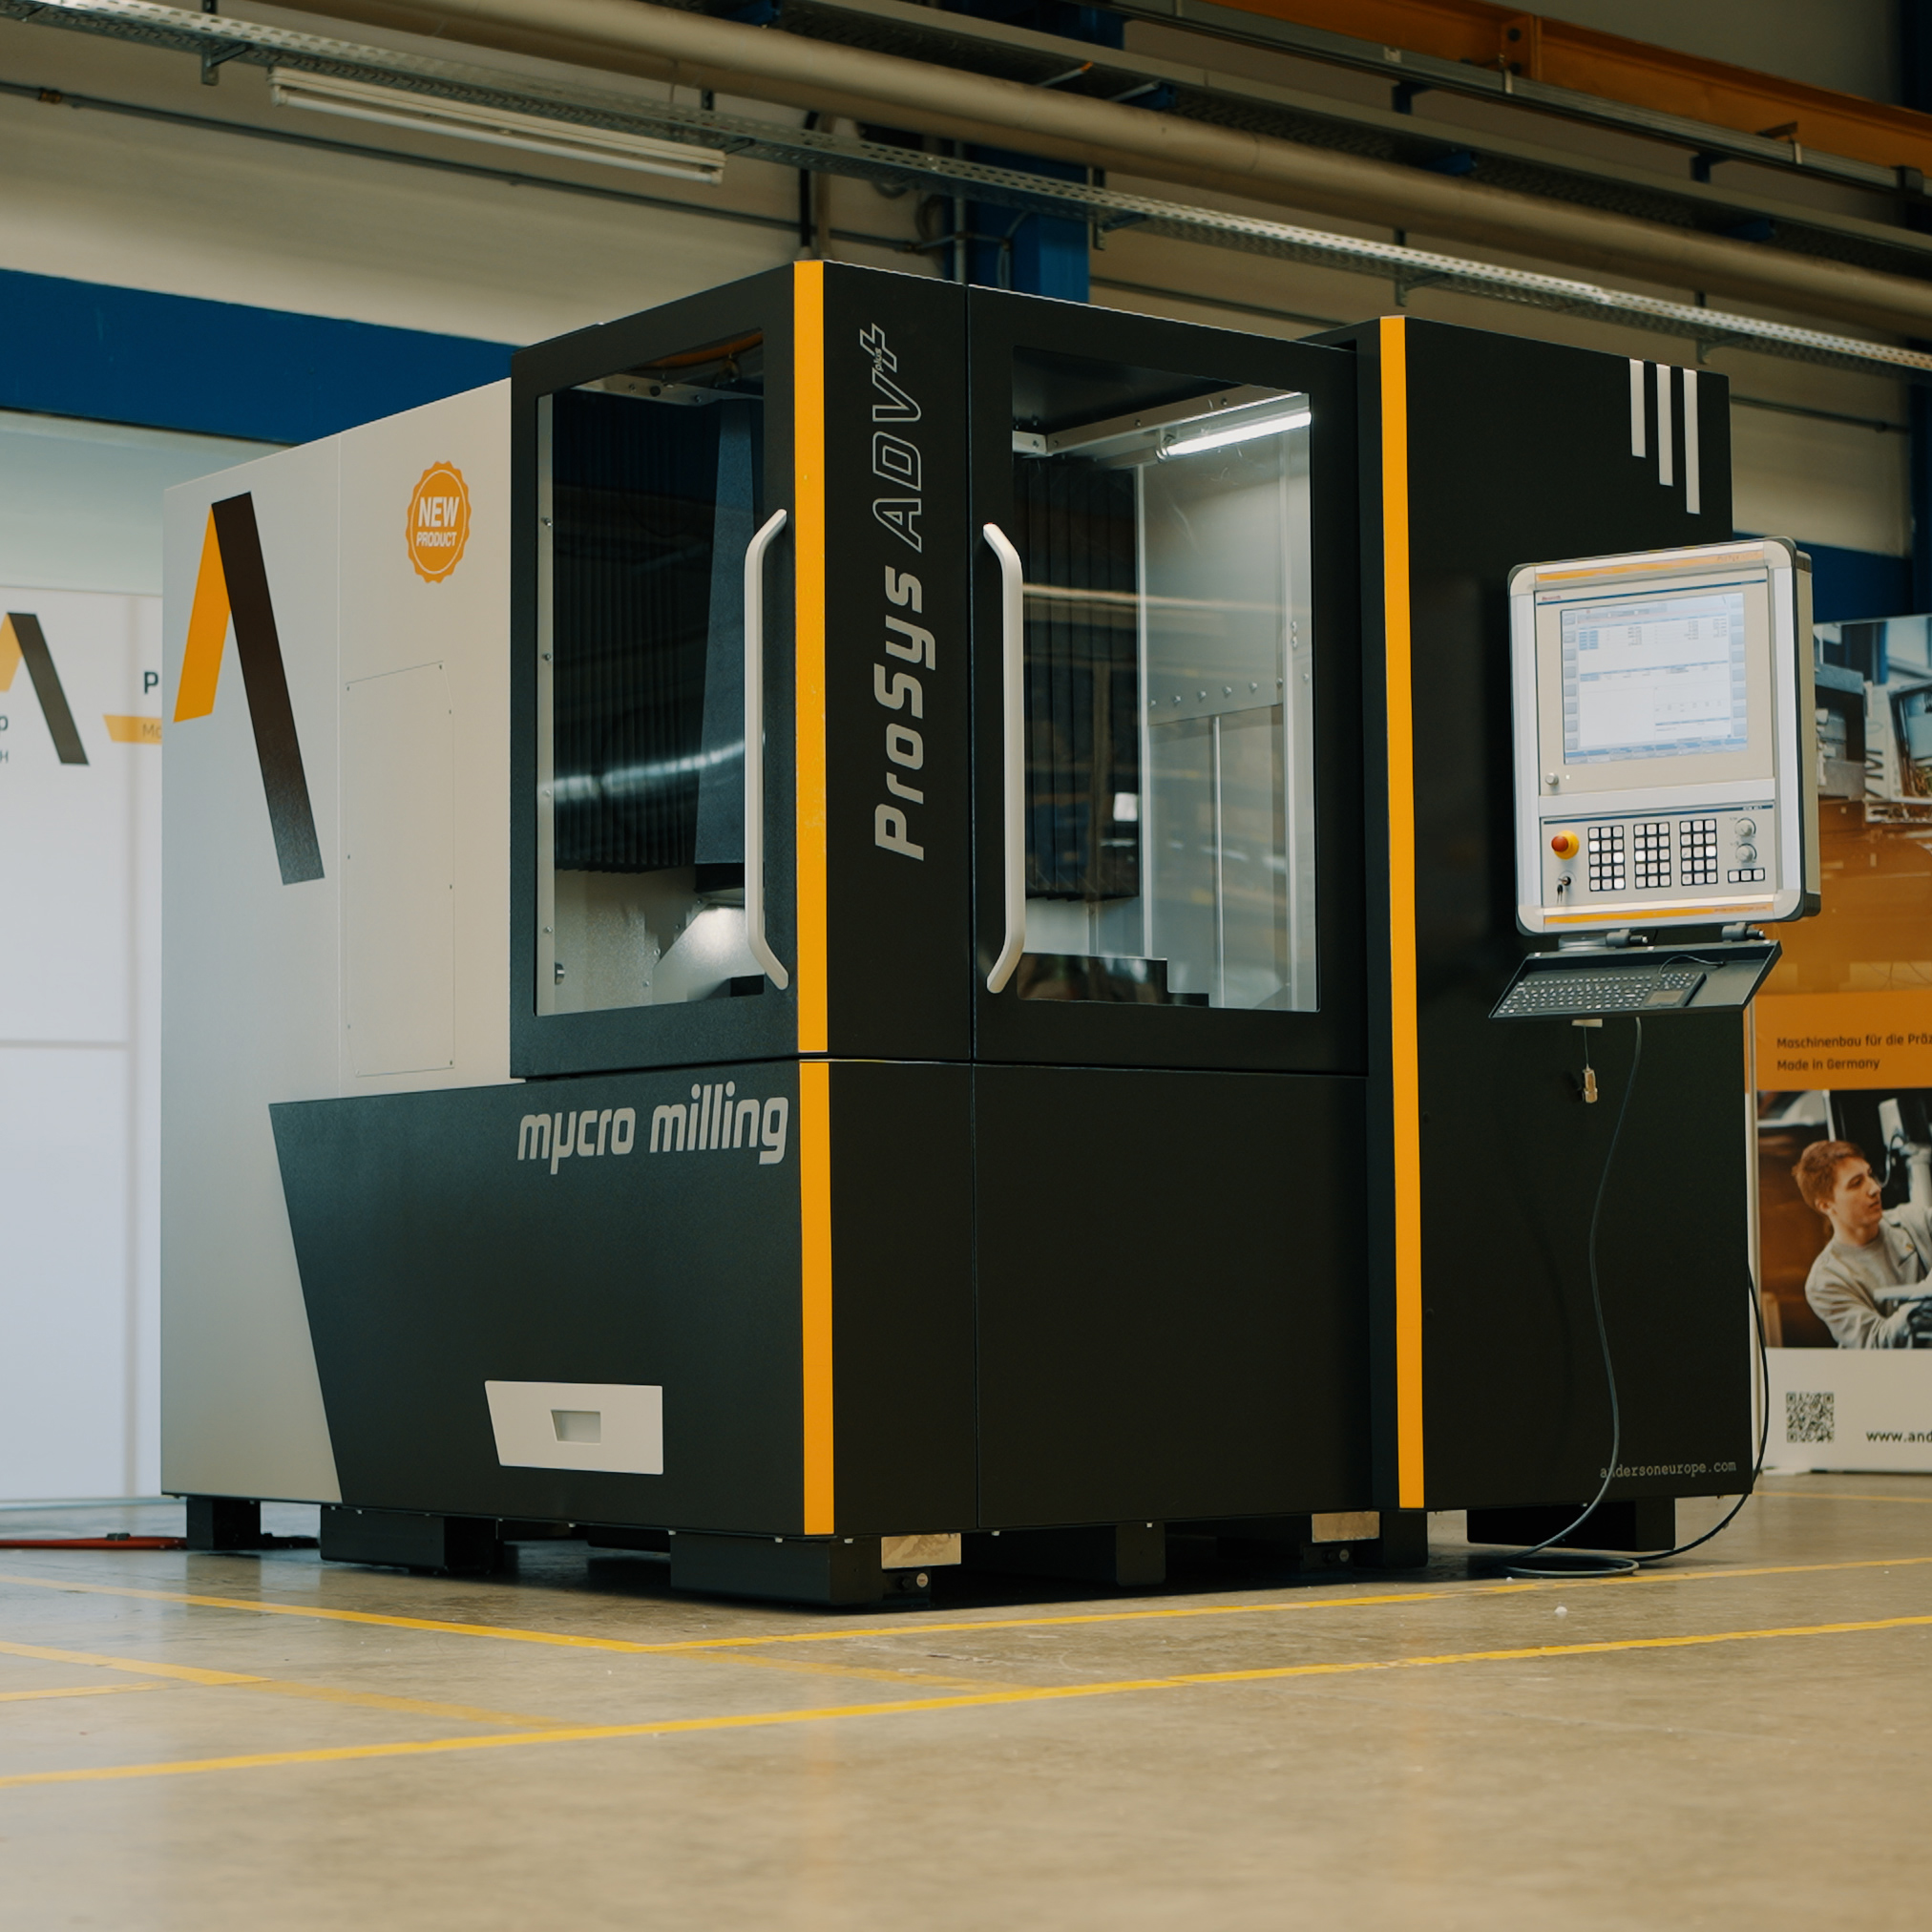 ProSys ADV+ milling machine
 Alfred Konemann, CEO of Anderson Europe
Alfred Konemann, CEO of Anderson Europe, explains:
"Materials like Kovar and Invar are difficult to machine as they tend to build up heat quickly. Abrasive wear due to work hardening can also dramatically decrease tool life or break tools prematurely.
Customers need machine tools to control the process very well, so that they can achieve both tight tolerances and high quality surface finishing.
Cutting tool parameters are chosen to minimise the degree of work hardening by reducing the amount of heat generated during material removal. A machine tool relies on both its geometric accuracy and the quality of its linear scales to execute the optimal tool path."
We have decided to use the FORTiS-N system on our ProSys ADV+ machines because it meets our high accuracy requirements. In addition, the FORTiS encoder integrated setup LED is an innovative feature that adds real value in terms of time saved during machine assembly.
Anderson Europe GmbH, Germany
Solution
Selecting the right metrology partner is critical for producing high-precision micro-milling machines. Anderson's decision to collaborate with Renishaw was deliberate and well-founded. Renishaw's reputation for quality and precision extends beyond a single product line and encompasses a comprehensive range of solutions for various applications.
Anderson has previously used Renishaw's tool measurement systems and recognises their accuracy and reliability.
Renishaw's commitment to customer support further strengthens the partnership. When Anderson encountered challenges during the installation of the FORTiS encoder system, a Renishaw representative promptly assisted them.
This responsive and dependable support helps to ensure that Anderson's machines consistently meet the highest quality standards.
The FORTiS-N encoder was chosen due to its excellent accuracy, robustness, space-saving narrow profile and innovative features such as high vibration resistance. Another benefit is the high-level of ingress protection that the sealed encoder offers.
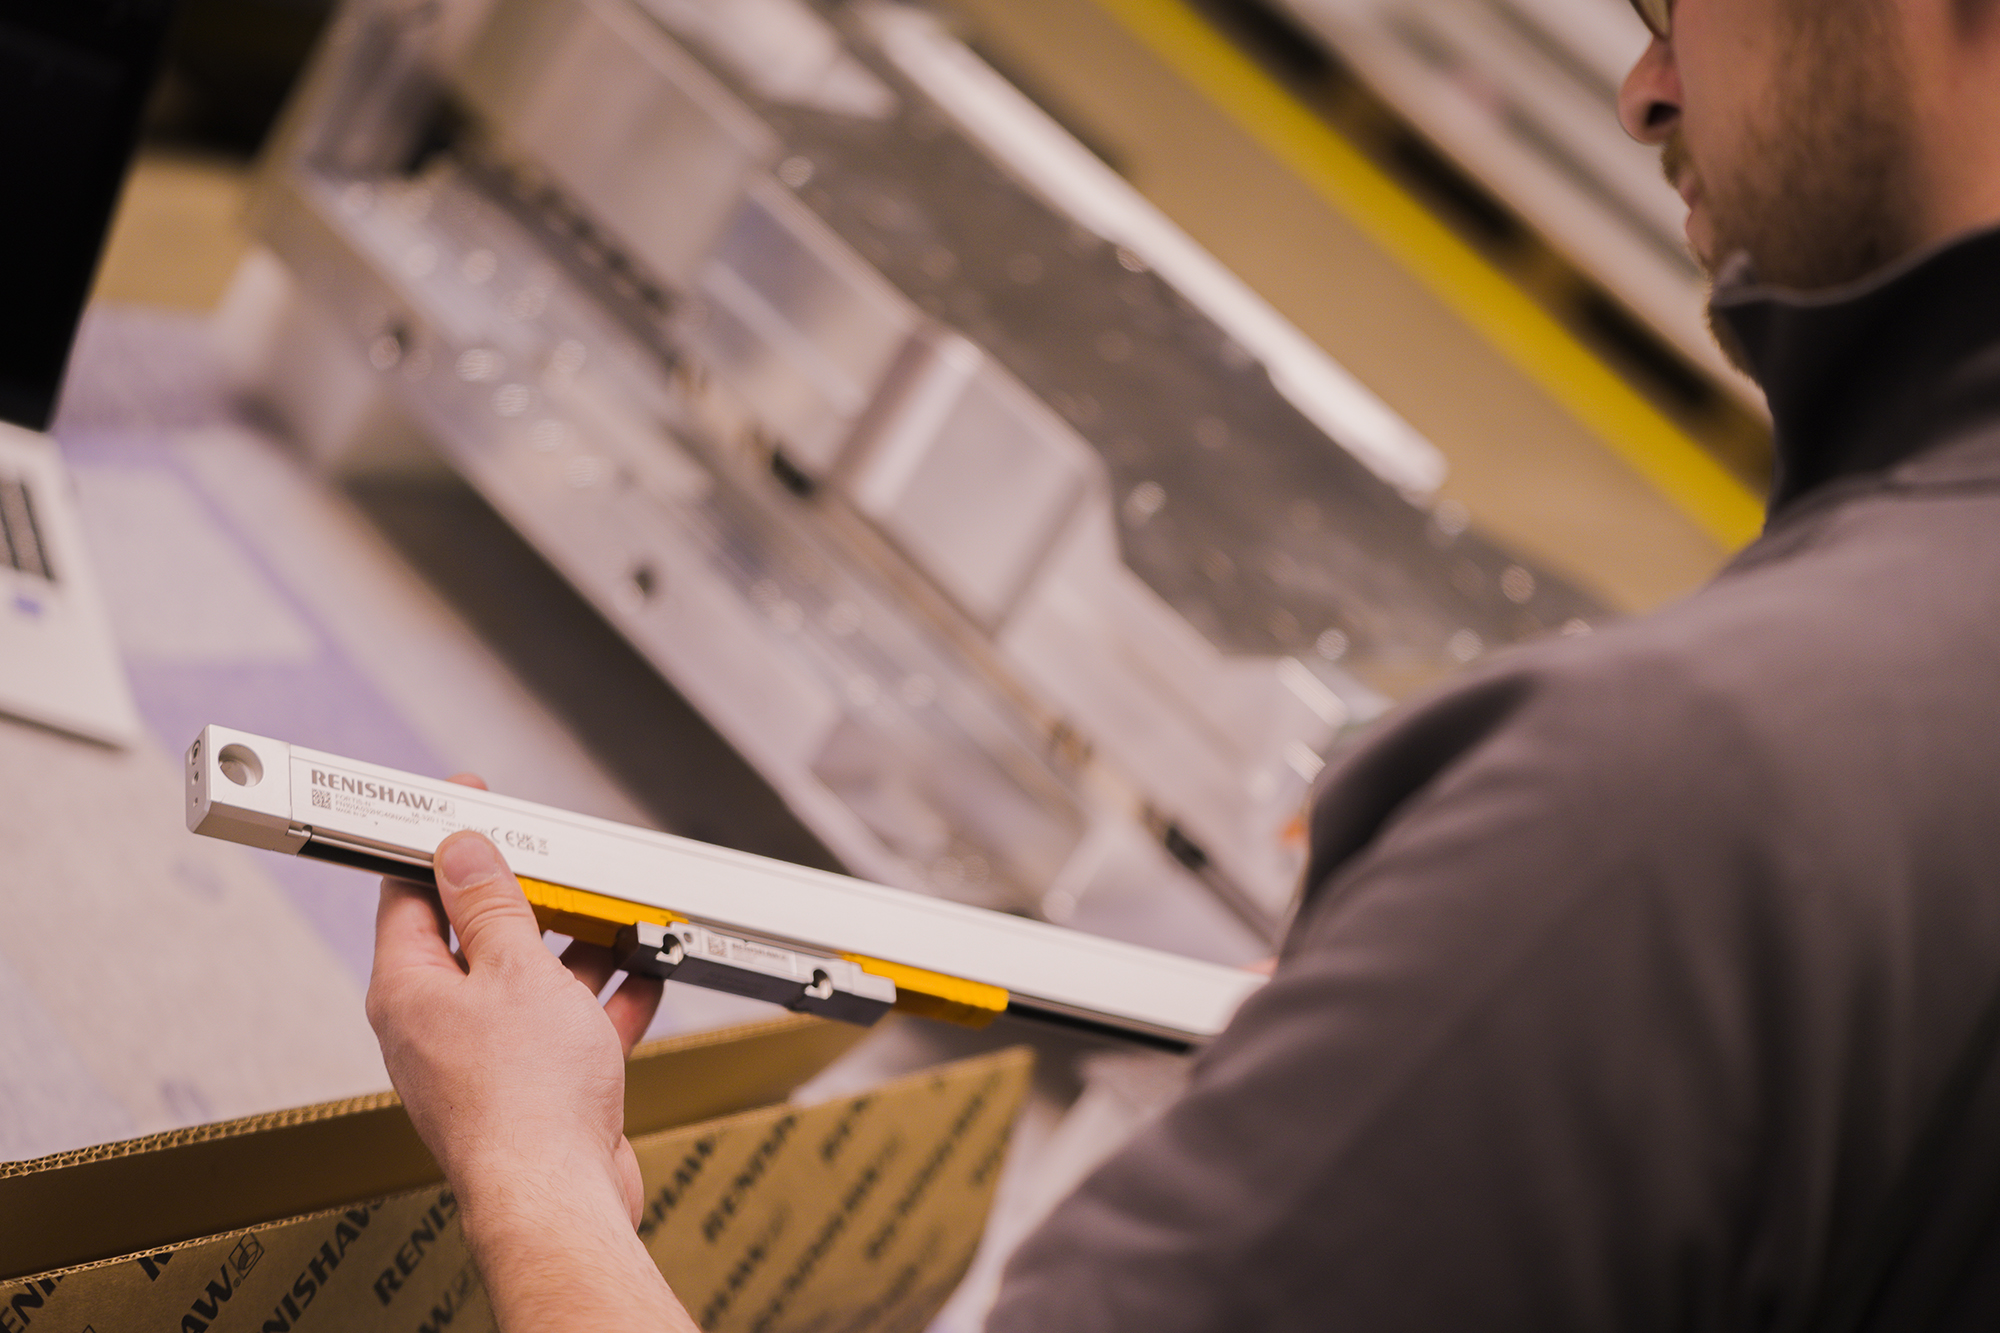 FORTiS-N encoder
Sőren Langhammer, Anderson's Chief Mechanical Engineer, highlights the value of choosing the FORTiS encoder for micro-milling applications:
“We have decided to use the FORTiS-N system on our ProSys ADV+ machines because it meets our high accuracy requirements. In addition, the FORTiS encoder integrated setup LED is an innovative feature that adds real value in terms of time saved during machine assembly. The ProSys ADV+ is used for micro-machining and, for this reason, it is important that the measurement system is of the highest quality to ensure the lowest possible positioning error.
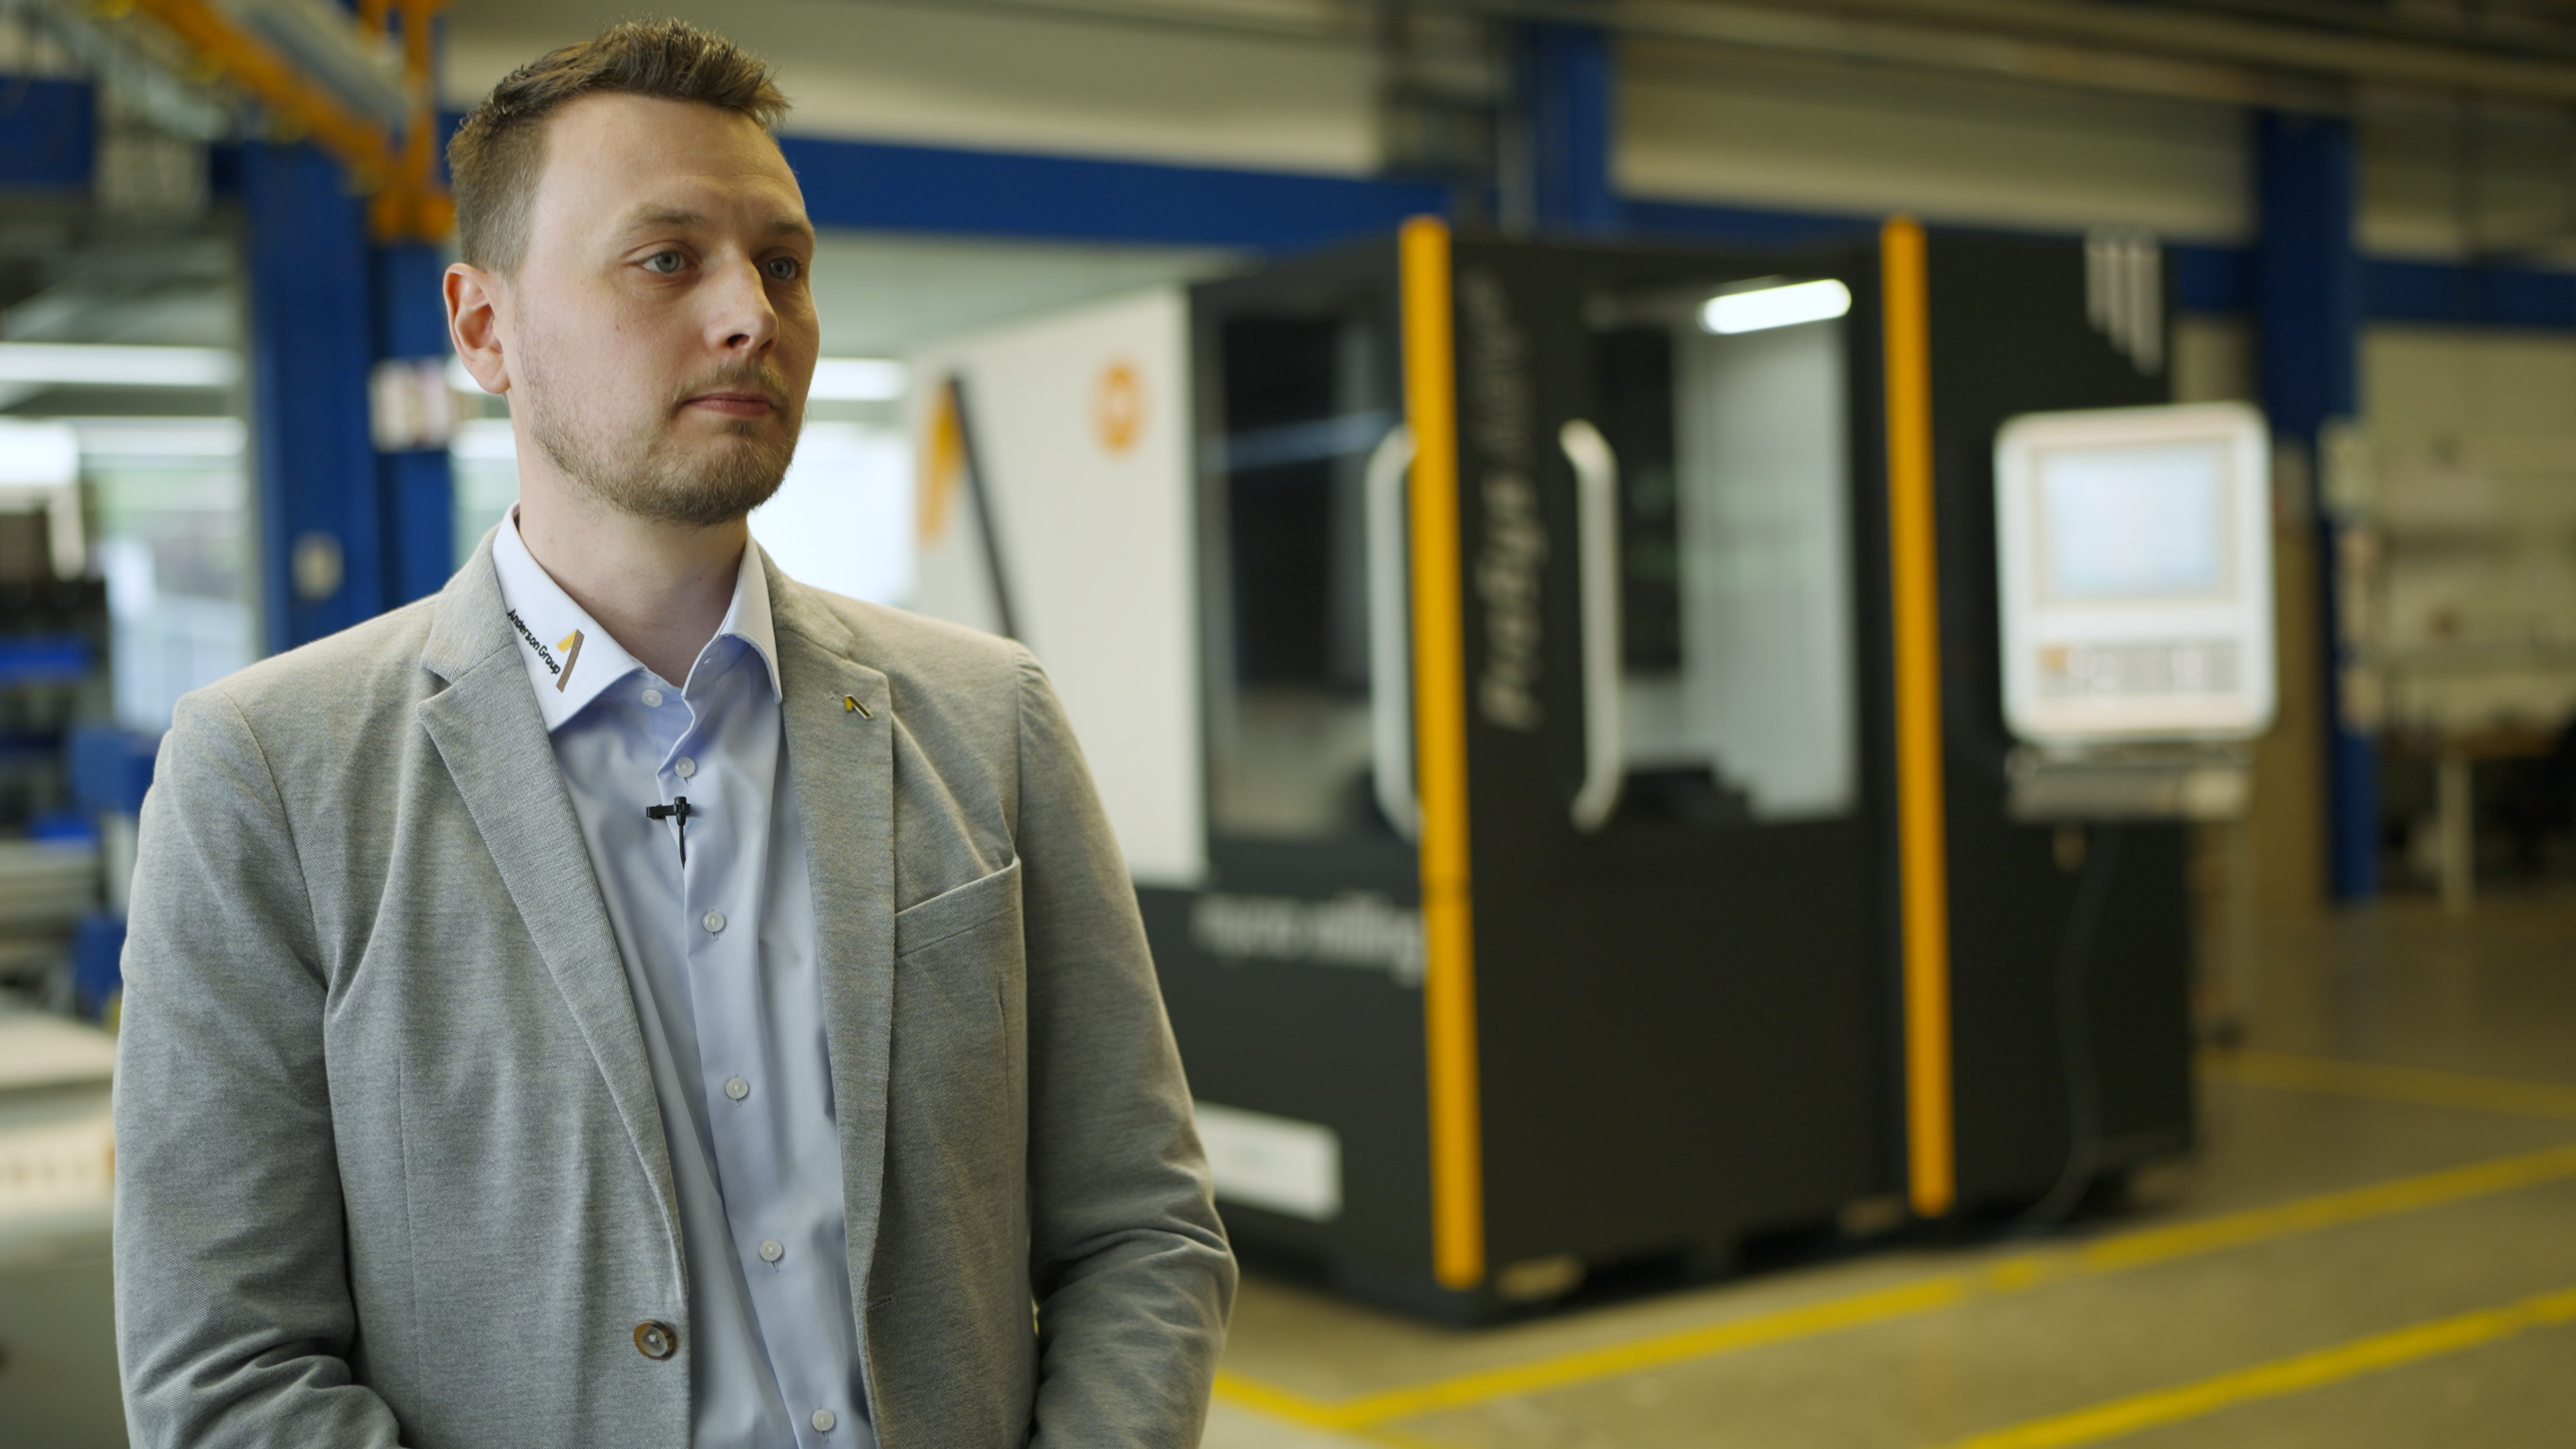
Soren Langhammer, Chief Mechanical Engineer at Anderson Europe
Even though our guiding systems (comprising linear guides and direct drives), and our encoder systems are protected from external influences by covers it is still important that the FORTiS system is completely encapsulated in order to eliminate the risk of any interference.
The air purge function protects the encoder enclosure from the ingress of contaminants including metalworking dust, swarf, and coolant.
Vibrations are an impediment to every machining operation, that is why we use a high-mass machine base that helps reduce the vibrations. The tuned mass damping system of the FORTiS encoder is a great complement to this."
Anderson's quality control begins with precise measurements of each structural component. For instance, the granite machine bed is meticulously assessed after delivery from the manufacturer.
The Renishaw XL-80 laser interferometer achieves an impressive linear measurement accuracy of ±0.5 ppm. This level of precision is crucial during the machine assembly process, where components must align flawlessly. The high accuracy of the XL-80 laser is ideal for ensuring precise assembly.
Throughout the entire machine assembly process, the XL-80 laser system is used to measure and align machine components, ensuring consistent quality.
Mr Langhammer continues:
“The Renishaw XL-80 laser interferometer is recognised as one of the leading measurement and calibration systems on the market. There are a wide range of accessories available, and the accuracy of the system is excellent.
It is very important for us to assemble the components of the machine as precisely as possible. We use the XL-80 laser to ensure the quality of our machines and measurements beginning with the granite bed and then continuing throughout the entire machine build, so that all the assemblies are measured and correctly aligned with each other.
Learning how to operate the laser is essential and Renishaw's in-house training made the process seamless. Our colleagues quickly mastered the XL-80 system, allowing safe and efficient usage.”
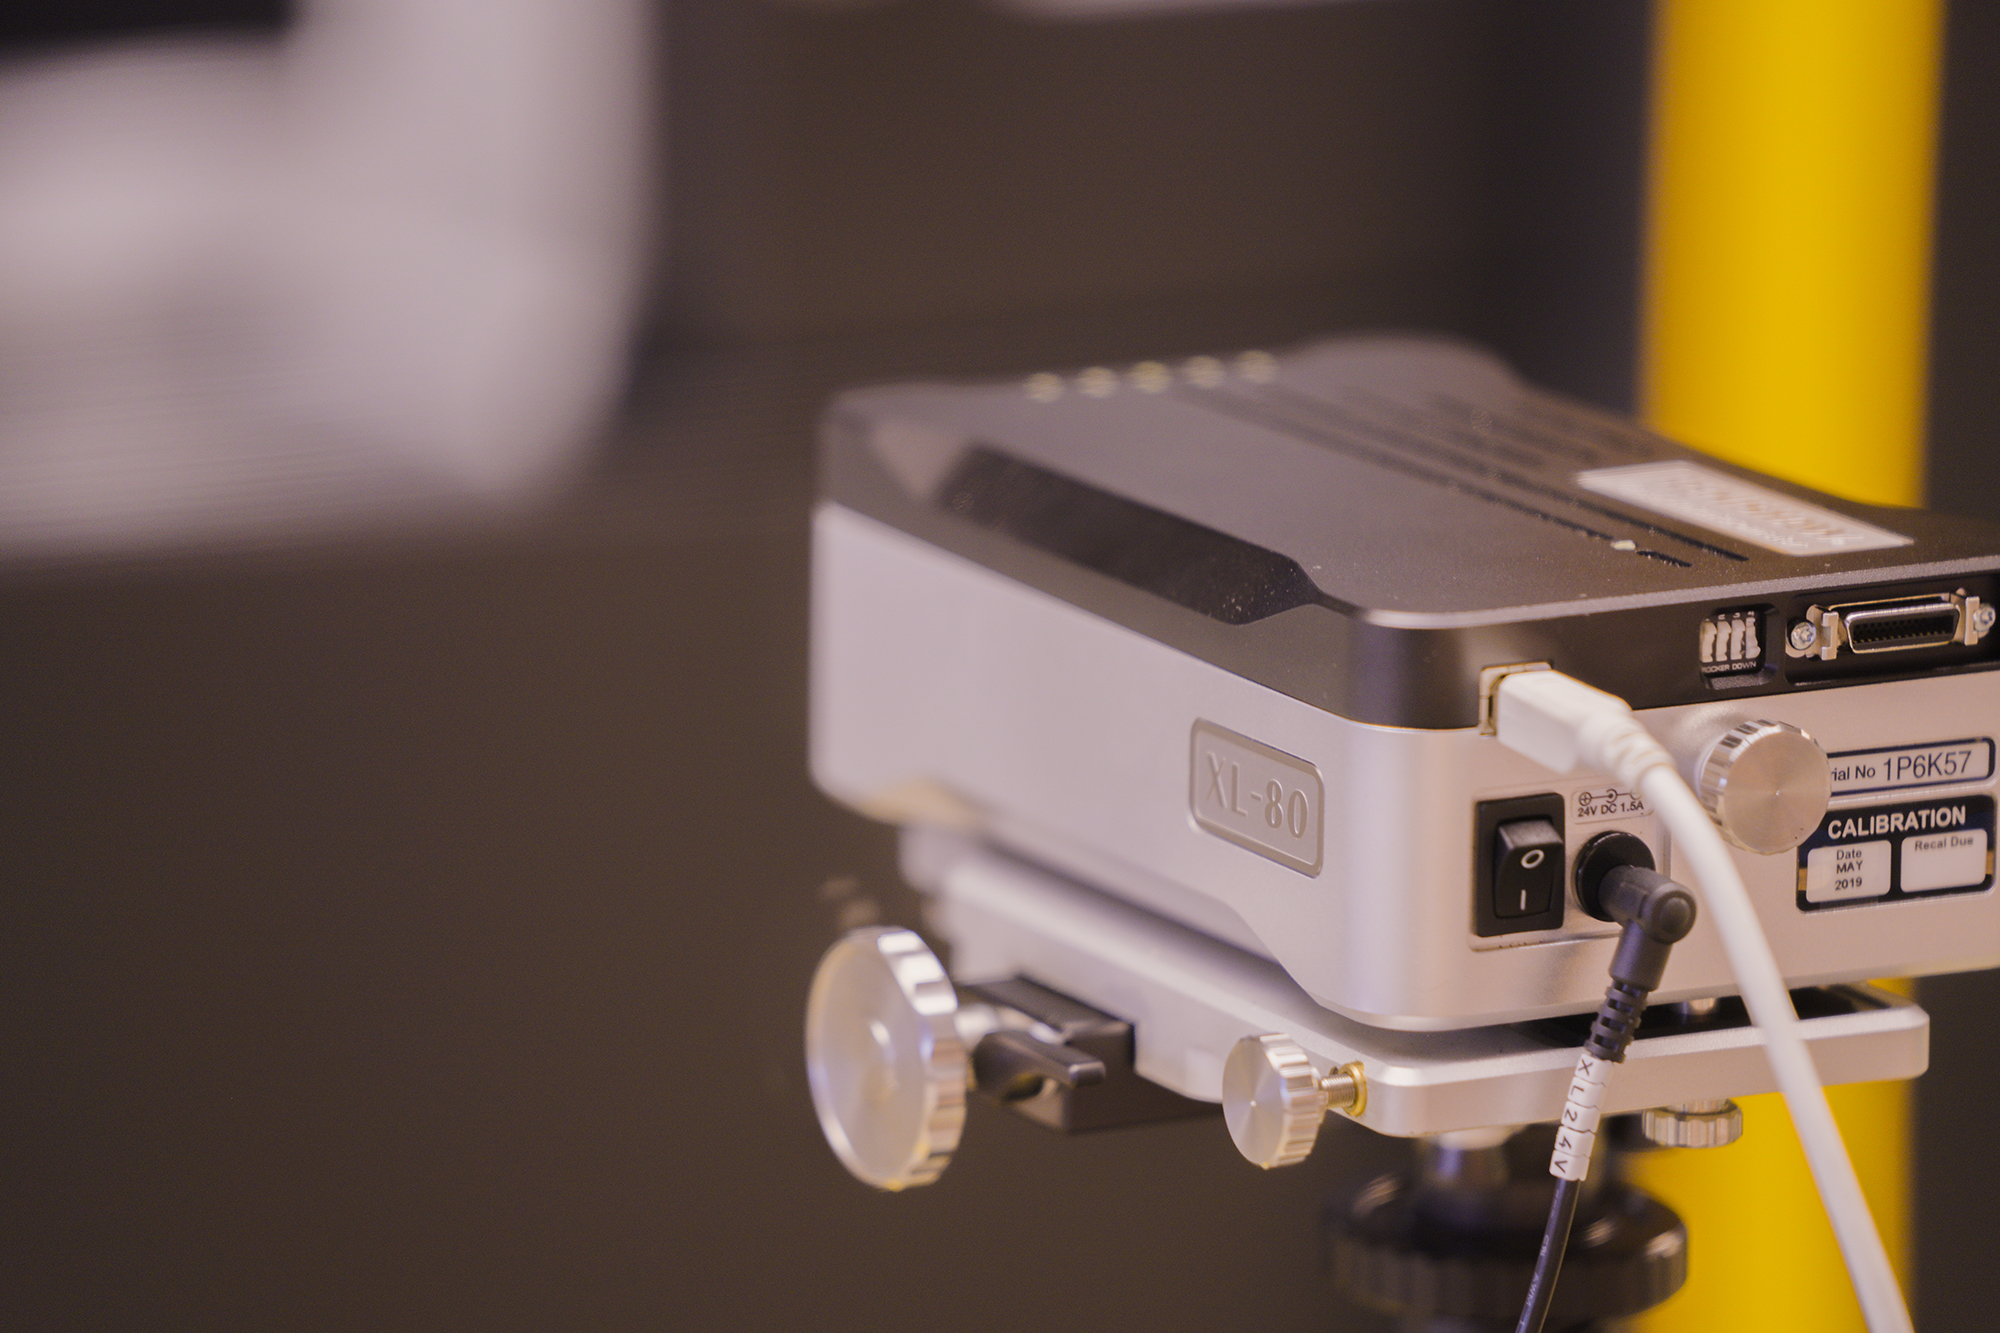 XL-80 laser system
Anderson uses the Renishaw QC20 ballbar for verification and validation of the ProSys ADV+ machine and for testing after delivery and installation at the customer's site. The test reports generated by the Ballbar 20 software offer proof of a machine's capability. Customers benefit from knowing their machine's performance, whether after assembly, installation, or scheduled maintenance.
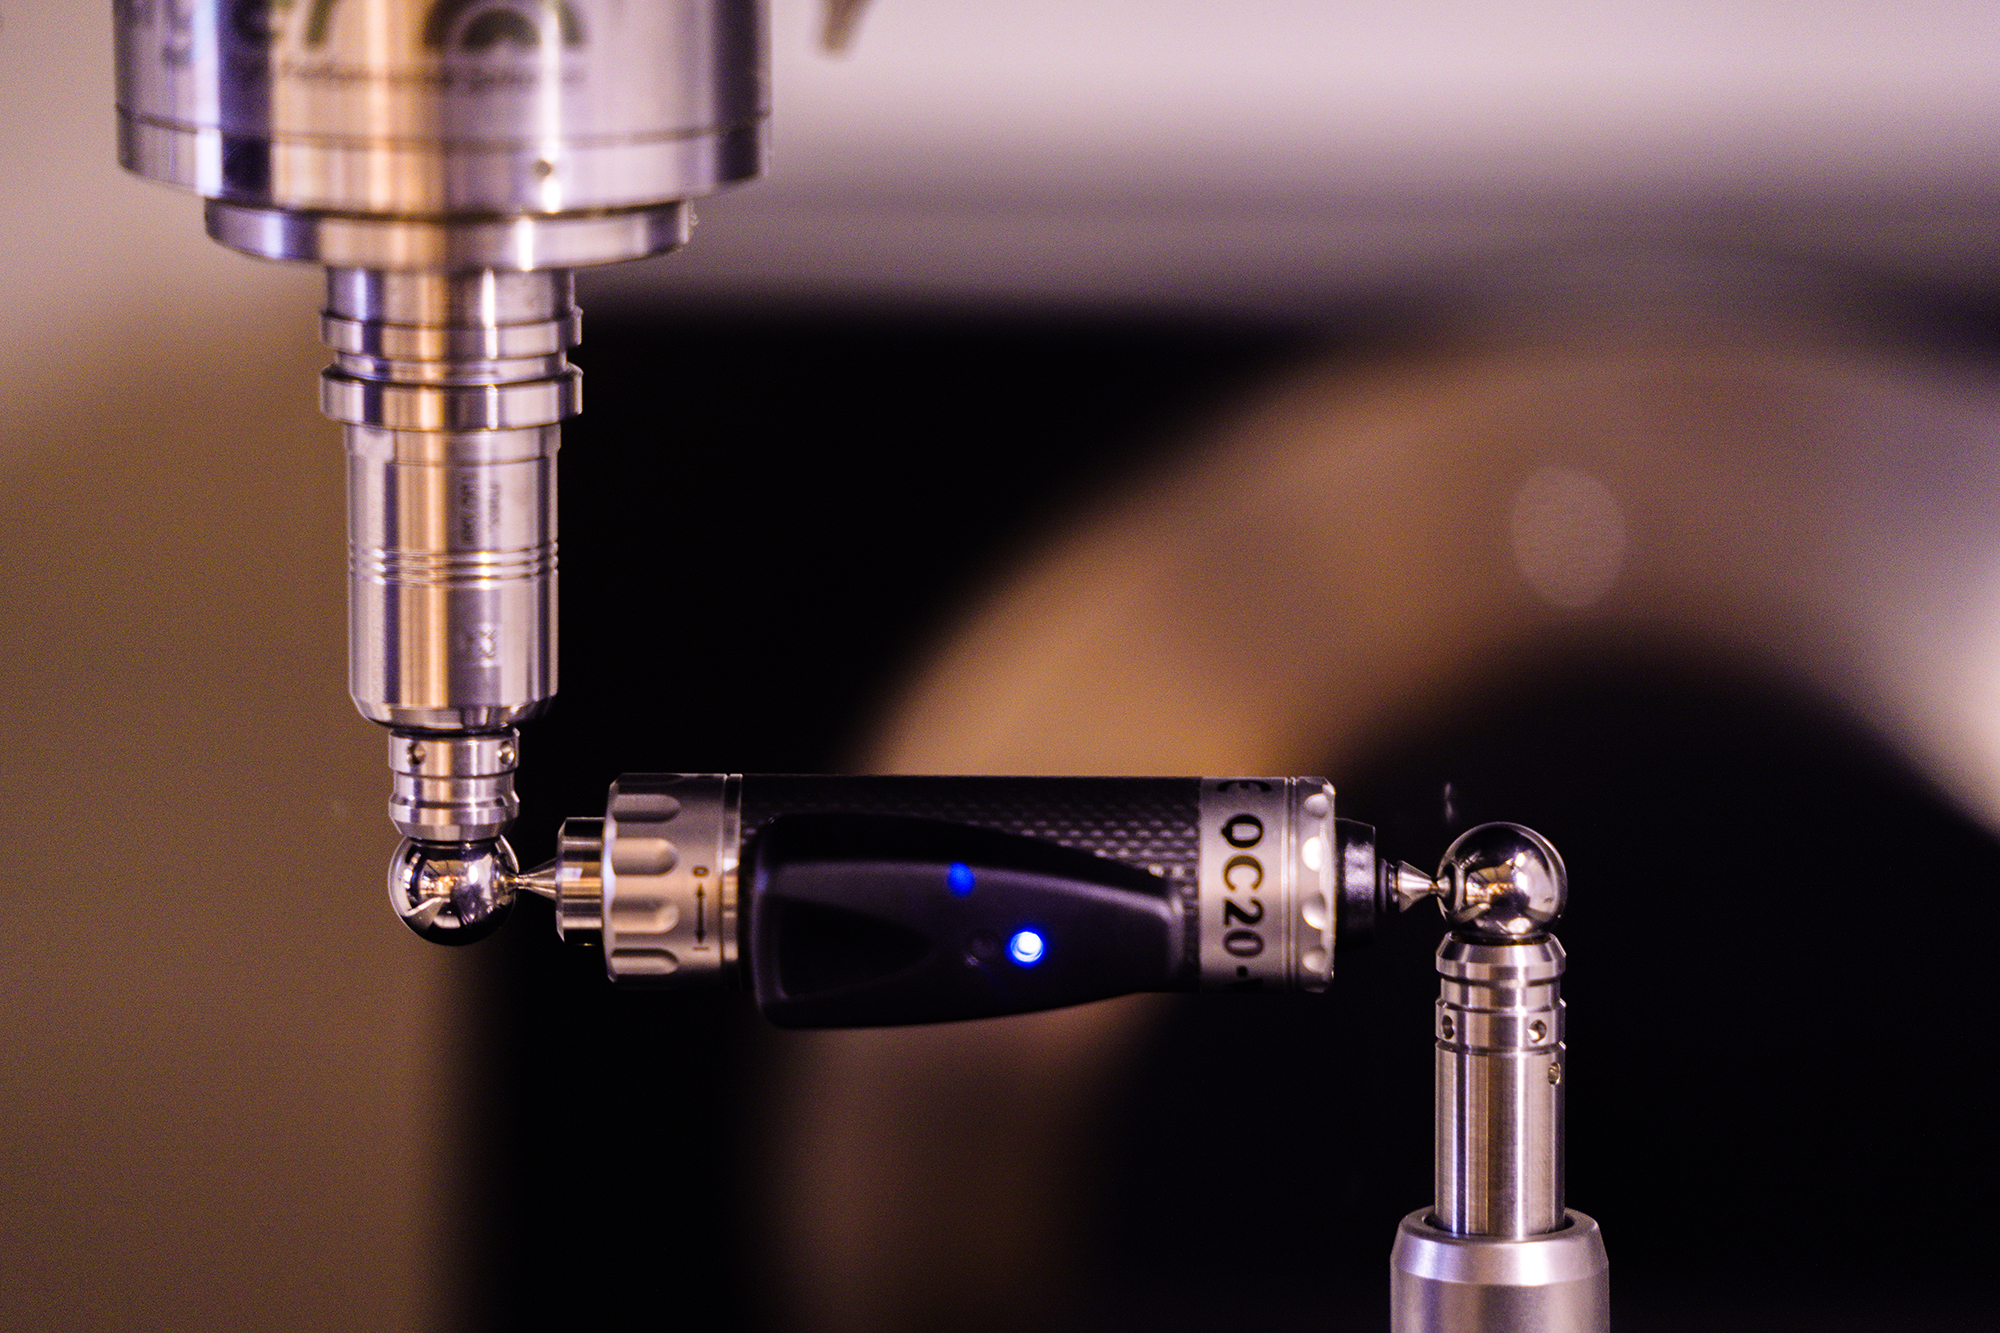 QC20 ballbar
Ronny Nikel, Applications Engineer of Anderson Europe, explains how Anderson and its customers use the QC20 ballbar:
“By using the XL-80 laser, we can ensure that the individual axes of the machine are set up in the best possible way. However, we still must check how the axes perform in combination, so we were looking for an indexing tool that we could use during commissioning. The portable QC20 ballbar is well suited for our tests.
With the QC20 ballbar, we can now prove how well and precisely our machines work. Not only can we run tests during the assembly but also after installing the machines at our customer's factory.
Another advantage of using the QC20 ballbar is our ability to create measurement protocols for any compliance standard so that we can provide the right compliance report to the customer.
Furthermore, we are now able to provide a proof of the machine's capability, not only after the assembly or the installation, but also after scheduled downtime for preventive maintenance. This way, our customers can check the machine's capability over a certain period. Of course, they can also use the QC20 by themselves to check the machine tool performance against their own requirements."
Summary
Anderson Europe manufactures and supports high-performance machine tools that provide micro-machining and micro-drilling for the most demanding applications. One such application is the accurate machining of materials like Kovar and Invar that are difficult to machine. These materials tend to rapidly build up heat and work hardening can lead to abrasive wear and reduced tool life. Customers require precise control over the machining process to achieve tight tolerances and fine surface finishing.
Geometric accuracy and high quality encoder feedback are crucial for executing optimal tool paths. Anderson partnered with Renishaw to apply several innovative metrology products to improve the assembly, commissioning, and operation of their machines.
Renishaw FORTiS-N encoders meet the high accuracy requirements of micro-milling machines like the ProSys ADV+. The enclosed encoder features a space-saving narrow profile, and high-ingress protection that safeguards against contaminants and maintains measurement quality. FORTiS encoder systems are also quick and easy to install, due to integrated setup LEDs, which helps to save machine assembly time.
The Renishaw XL-80 laser interferometer provides excellent accuracy and is equipped with a wide range of accessories. The XL-80 laser ensures quality over the entire machine build — machine assemblies are measured for geometric errors and corrected. Renishaw also provides in-house training for efficient operation of the interferometer as part of a seamless machine build process.
The QC20 ballbar is a valuable tool for assessing the stability and performance of the ProSys ADV+. This portable ballbar is also ideal for verifying the machine capability and generating any compliance reports for customers after commissioning and servicing.
In all, Renishaw's unique products combined with technical and applications support has enabled Anderson to deliver exceptional machine performance.
 Francesco Palumbo, Renishaw sales engineer


