Unique 5-axis measurement techniques with the RSP2 probe
Renishaw's 5-axis high speed, high accuracy measurement techniques offer a wide range of benefits resulting in significant throughput improvements.
Head touches

On measured features requiring position and size, discrete points are captured utilising the performance of the REVO drive system or in combination with the XYZ axes of the CMM. The head touch capability extends the range of usefulness of the REVO / CMM system where minimum points are required but measurement speed is important.
Circle scan and joined circle scan
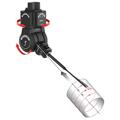
The circle scan is a defined routine that scans a circular feature, capturing up to 4,000 data points per second. By defining the expected path, the REVO head utilises its 2-axis drive system to follow the surface and minimise the effects of moving the three CMM axes on accuracy. The circle scan is ideally suited for inside bores, such as engine blocks, where the form is critical.
Cylinder scan
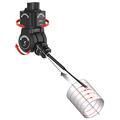
The cylinder scan is designed to move along the axis of an inside or outside cylinder or cone. During the scanning process, the cylinder scan traverses along the axis at a uniform length per revolution. The effect is a helical path capturing a large data point set over the full defined length.
Gasket scan
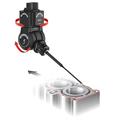
The gasket scan is ideally suited to follow a non-uniform path during scanning operations. By defining target points along the proposed path, the REVO system will blend a path between the points while capturing large data point sets, minimising the amount of CMM motion. The gasket scan works under a full 5-axis motion control.
Sweep scan - surface
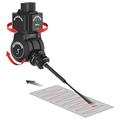
Capturing data points over a plane can be accomplished by utilising the REVO drive system to sweep back and forth while the CMM drive system move is a singular vector direction at a constant speed. This process minimises the inherent inaccuracies of the CMM structure while scanning the surface at high speeds.
Sweep scan - edge
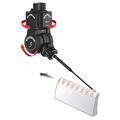
The REVO drive system adapts to the changing surface shape by controlling the contact pressure of the stylus during a sweeping action. The CMM drives in a uniform direction to minimize the inherent inaccuracies of the CMM structure. This results in the ability to provide surface following while capturing large data point sets and is particularly suited to the measurement of airfoil surfaces.