Empowering calibration service providers to deliver precision solutions
While large companies often maintain dedicated inspection teams to perform these calibration duties, the associated costs can be prohibitive for small and medium-sized businesses. However, as the number of calibration service providers grows, more accessible and cost-effective solutions for ensuring the optimal performance of precision equipment are becoming available.
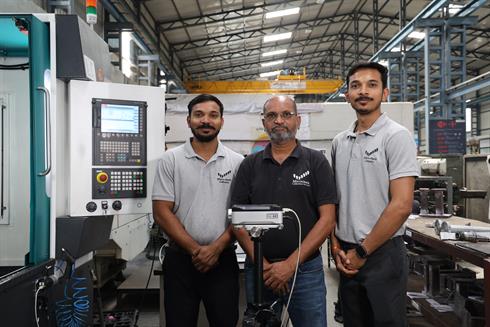
Micro-check Calibration Pvt. Ltd. (Micro-check) is an India-based calibration service provider using Renishaw's cutting-edge calibration systems to support their small and medium-sized customers. They offer a range of calibration services to Indian machine manufacturers, imported machine tool installations and other large machine tool end users.
Micro-check has worked with Renishaw since 2016, using calibration products such as the XL-80 laser interferometer, QC20 ballbar, and XR20 rotary axis calibrator, to provide services to machine manufacturers. They recently expanded their offering by adding the Renishaw XK10 alignment laser system to their suite of tools. This strategic investment has further enhanced Micro-check's ability to provide comprehensive testing and optimisation solutions for their customers.

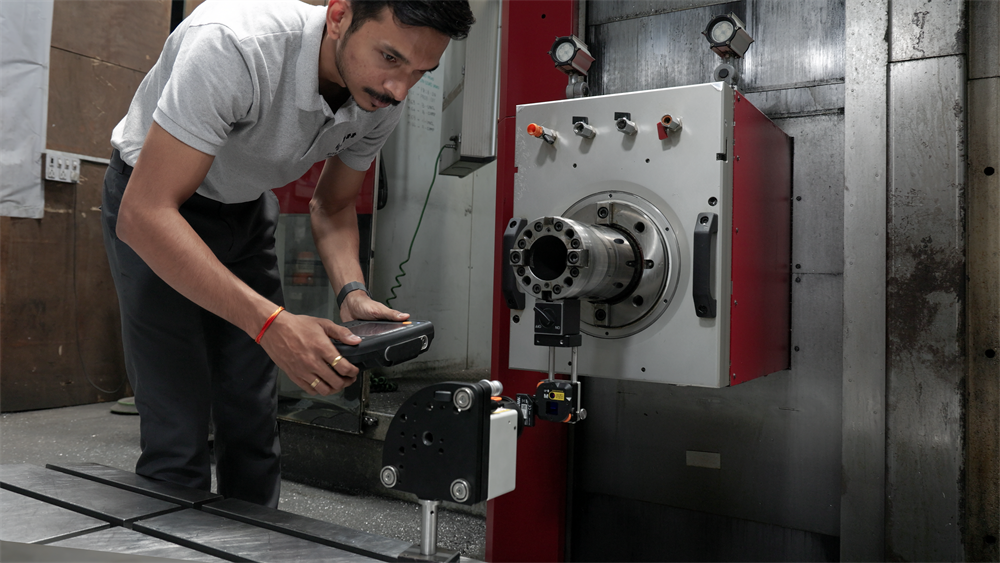
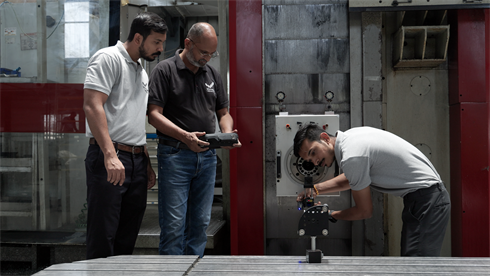
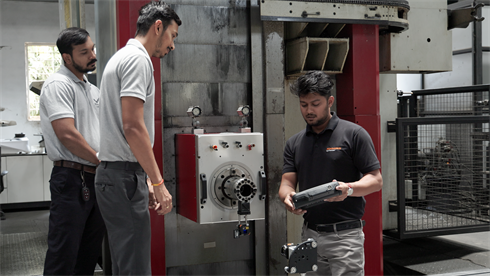
Using the XK10 alignment laser system
Micro-check added Renishaw's XK10 system to their collection this year, using its multi-functional capabilities to support their customers in the machine tool, automation, robotics, electroplating, and aerospace sectors, plus more specialised areas. For example, in the electroplating industry, the XK10 system measures the coplanarity of holding fixtures which solves the problem of uneven material thickness on the hard chrome plating of piston rods. It can also be used to assess the rigidity of machine foundations by checking for vibration, and horizontal or vertical movements caused by other equipment like machinery, presses, or cranes. The XK10 system measures displacement and deflection within a machine's own structure, due to its axis movement.
The XK10 alignment laser system measures a range of parameters that Micro-check finds useful, including straightness, squareness, flatness and level, as well as spindle coaxiality and direction. They have used the XK10 system extensively and have successfully completed calibration services for over 150 machines across a range of applications.

Advantages in measuring range
Traditional measurement methods (like using granite squares, dial gauges, autocollimators, and metrology artefacts), require manual operation and are prone to errors, making them unreliable. In contrast, the XK10 system leverages laser technology, enabling it to measure over long distances with excellent inspection efficiency. For instance, Micro-check used the XK10 system to measure parallel and perpendicular straightness of a 25 metre casting in just 45 minutes. If they had used a granite square (typically around 2 metres long) for the same measurement, it would have required multiple test set-ups and would have been less efficient.
The Managing Director of Micro-check, Mr Sunil Navale, has over 35 years of experience across design, assembly, testing and maintenance in the machine tool industry.
Mr Sunil Navale, Managing Director
Micro-check Calibration Pvt. Ltd (India)
Data stitch function
Laser measurement has its advantages, but in real-world environments the presence of air turbulence can introduce noise into the laser measurements, which can significantly reduce the repeatability of the results. The degree of air turbulence can vary depending on the measurement environment. Implementing strict environmental controls can be costly and may not be accessible to all customers. The longer the distance between the XK10 launch unit and the M-unit, the more the air turbulence affects the measurement.

When developing the XK10 laser alignment system, Renishaw understood the practical application environments of their customers, so they developed a stitching feature to solve this challenge. The data stitch function in Renishaw's CARTO software allows you to measure long axes with high accuracy and repeatability by combining multiple shorter measurements. The idea is to limit the distance between the XK10 launch unit and the M-unit to a length where the air turbulence has minimal impact, and then move the units along the axis to measure the remaining segments. CARTO software easily stitches the shorter measurements into a single long measurement.
Simple and intuitive user interface
The XK10 system's user interface provides detailed step-by-step operation instructions for each measurement task, guiding the user through the measurement process. The instructions are user-friendly which helps operators to familiarise themselves with the system's capabilities. Throughout the testing process, the XK10's wireless display unit shows the measurement data and test diagrams in real-time. After each completed measurement, the XK10 system software generates a detailed measurement report, which can be exported in both PDF and XML formats.
Mr Navale highlighted the XK10 system's operational flexibility, saying: “You only need to switch to the required measurement task on the display unit to see the data. The user interface is very intuitive and easy to use. Most importantly, the XK10 system helps improve the overall productivity, especially in the machine assembly stage, as it identifies potential issues and resolves them quickly, reducing time and making the process more efficient.”

Portability
The XK10 system is a portable tool that uses a wireless connection to communicate with the S-unit and M-unit, and is powered by a battery providing 30 hours of operation. This makes it well-suited for service providers like Micro-check, who have to regularly take the tool to a customer's workshop.
The XK10 system and fixturing kit are supplied in carry cases for easy transportation of the equipment.
Solution
As well as providing machine calibration services and reports, Micro-check analyses the overall performance of machines for their clients and suggests improvement plans. This includes identifying sources of accuracy errors, implementing preventive maintenance, and developing machine performance optimisation programs. To deliver these services, Micro-check relies on high-quality calibration equipment like the Renishaw XK10 alignment laser system.
The XK10 system is the third Renishaw calibration system Micro-check has purchased to support their customers' machines to make corrective and preventive measures. Micro-check uses the XR20 rotary axis calibrator and the QC20 ballbar to quickly diagnose machine performance, identify potential issues and machine errors. The XL-80 laser interferometer is primarily used for the calibration of finished machines, with the XK10 system being used for machine assembly and casting measurements.
Mr Navale concluded: “We always go through the maintenance report in detail with our customers so they can better understand each machine's performance. For some manufacturing customers, they can clearly understand the performance of each machine and effectively allocate work to the appropriate machines for maximum efficiency.”

