Navigation
RUP1 system description
The RUP1 probe system brings automated thickness measurement to CMMs as part of the REVO 5-axis multi-sensor measuring system.
The RUP1 system hardware is comprised of a probe, an end cap, an elastomer ball (tip) and accessories to enable automatic interchange of RUP1 or between different probe types. Calibration and setting artefacts are also available to ensure that the system is performing at its optimum capability at all times. Specific RUP1 software is also required to interpret the data collected by the REVO-2 system. Because the RUP1 system is used as part of a multi-sensor system, and uses specially designed calibration routines, the location of the stylus tip is known precisely. RUP1 thickness measurements can therefore be collected from a specific location, even if there is significant variation between nominally identical parts. The thickness data, together with its analysis results, can then be stored alongside the part's dimensional data for future reference.
The RUP1 is currently available in two lengths - 175 mm and 300 mm (from centre of the REVO-2 axis).
System components overview
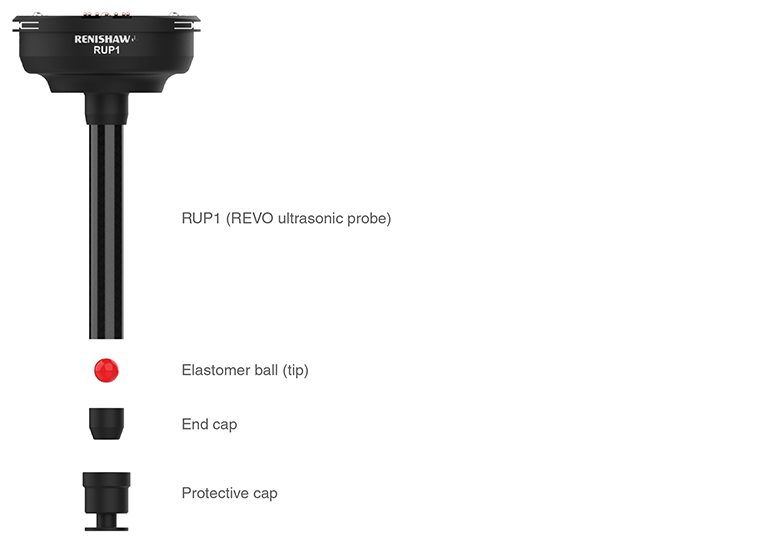
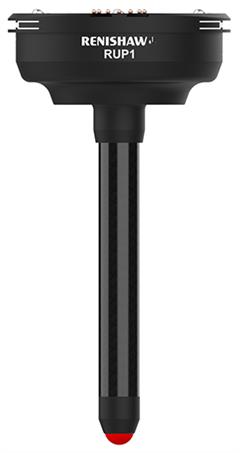
RUP1 probe
The RUP1 probe houses the electronics to condition the signals from the transducer so that they can be communicated to the controller via the REVO‐2 head.
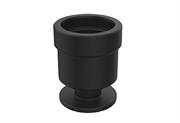
Protective cap
The RUP1 should always be stored with the protective cap in-place as it extends the life of the tip (elastomer ball). The protective cap fits over the “endcap” and is held in-place by the friction of the sealing ring. Automated routes automatically remove and replace the cap during use.
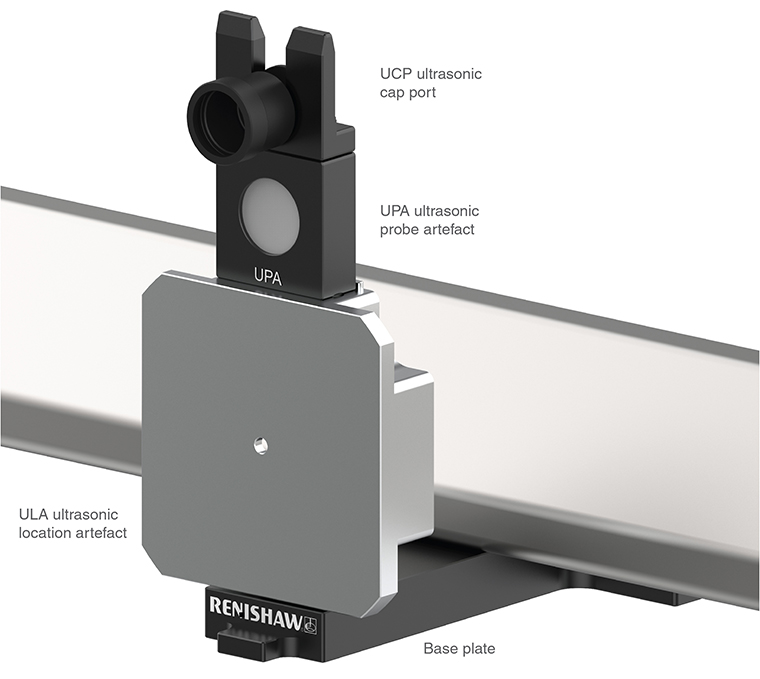
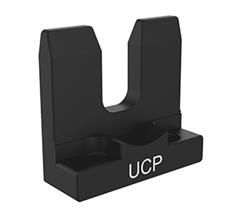
UCP ultrasonic cap port
The UCP holds the protective cap during use. The UCP sits on the top of the calibration assembly.
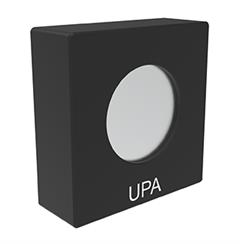
UPA ultrasonic probe artefact
The UPA is used to determine the RUP1 probe length (tip Z) and the ultrasonic axis.
ULA ultrasonic location artefact
The ULA determines the XY of the position of the ultrasonic axis (location).
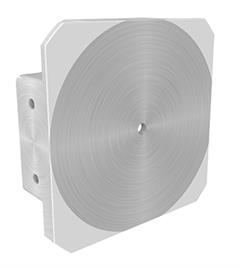
CAUTION: Take great care not to damage or scratch the artefact.
UMA1 ultrasonic material artefact
The UMA1 holds the four or five step ASTM E797 spec ultrasonic calibration artefact.
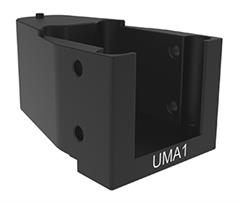
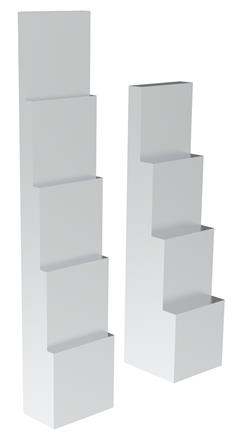
NOTE: The precision of the artefact affects the system performance.
The artefact should be made from the same material grade and be subjected to the same processes (e.g. heat treatments, forging, shot peening) as the part being measured.