No momento esta página não está disponível em seu idioma. Você pode ver uma tradução automatizada utilizando o Google Translate. Não somos responsáveis pelo fornecimento deste serviço e não podemos verificar os resultados.
Se você necessitar mais ajuda fale conosco.
50% faster turbine blade inspection
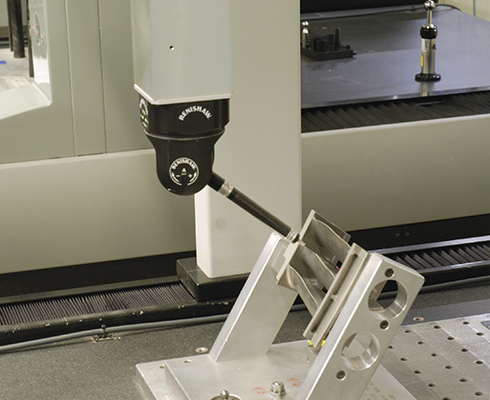
At Europea Microfusioni Aerospaziali – a turbine blade manufacturing company based in Morra De Sanctis near Avellino, Italy, these checks are now performed using Renishaw's PH20 5-axis probe head. Compared to using a 3-axis system, cycle times have been reduced by up to 50%.
Background
Europea Microfusioni Aerospaziali (EMA), is part of the Rolls-Royce Group, a world leader in the manufacturing of propulsion systems for civil and military aircraft, ships, submarines and turbines for industrial energy production.
EMA's Morra De Sanctis facility includes a factory of 20,000 m2 where the company manufactures ultra-high precision stator and rotor blades in special alloys, for high, intermediate and low-pressure stage aeronautical turbines used in both civil and military applications. The company also makes blades for industrial turbines used to generate electricity.
More than two thirds of EMA's production is for prestigious customers in the aeronautical industry in Italy and around the world, including parent company Rolls-Royce, AgustaWestland, Ansaldo Energia, Avio, Turbocare, Siemens and MAN. Approximately 25% of military aircraft worldwide are fitted with Rolls-Royce engines, many of which use EMA products.
Since the introduction of the Renishaw PH20 probe head, it's possible to reduce significantly both measurement times and the quantity of stylus changes performed during the control cycle. The use of the MODUS™ software also reduced and optimised programming times. We have managed to reduce cycle times by between 30 and 50% and in some cases even more.
Europea Microfusioni Aerospaziali (Italy)
Challenge
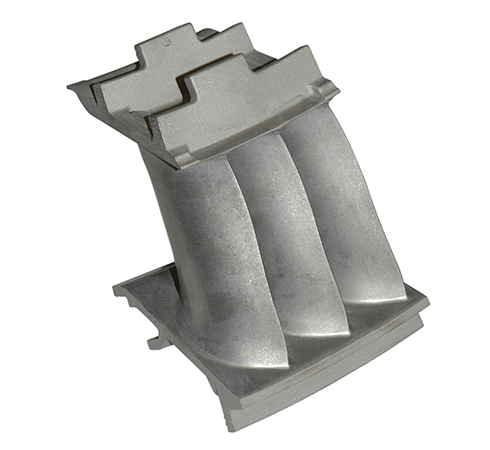
Turbine and aero-engine blades are made using super-alloys capable of withstanding very high temperatures and pressures. Their shapes are typically complex, to maximise efficiency and reduce stress and fatigue. And yet, they are made using one of the oldest manufacturing techniques known to mankind: casting.
EMA has perfected a wide range of micro-casting technologies, including those used for the production of blades comprising of single crystals of metal alloy. The company also specialises in the lost wax micro-casting process, which begins with the creation of wax models obtained from metal moulds.
These wax models are then coated with a ceramic material designed to withstand high temperatures. The wax is removed and the ceramic shell forms the mould for the super-alloy. Once solidified and cooled, the cast parts undergo heat treatment and finishing and all components are checked for dimensional accuracy, as well as structural integrity, using ultrasound, X-ray and liquid penetrant testing.
Designing an efficient process for checking dimensional accuracy of turbine and aero-engine blades is challenging due to the complex geometry of the part and the requirement to check each and every blade.
Solution
Eng. Vittorio Caggiano, Quality Control Manager: “We had to find a solution that would allow us to improve the efficiency of the dimensional verification process in terms of quantity of parts measured in a unit of time.”
To do so, the company could choose to invest in new measurement machinery, or to reduce the measurement cycle time, thereby increasing the capacity of its existing, in-house measurement machines.
“Up until a couple of years ago, our CMMs operated with PH10 3-axis indexing heads, which set certain limitations both in terms of movement and in stylus changing times.” says Eng. Caggiano. These limitations were due to the complexity of the parts, which demanded many stylus changes for each measurement cycle.
“We worked closely with Renishaw technicians to find a better solution. We also sent our parts to the Renishaw facility in Turin for measurement tests. After these tests, we concluded that the best solution was to invest in new, more flexible and efficient PH20 5-axis probe heads, as well as MODUS metrology software. Renishaw retrofitted the new probes to our existing CMM machines and created fifty measurement programs, written by Renishaw SpA staff on site during our training.”


Results
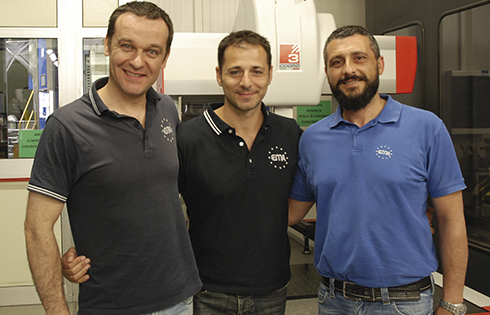
“The end result is extremely satisfactory,” adds Maurizio Rullo, CMM programmer. “Since the introduction of the Renishaw PH20 probe head, it's possible to reduce significantly both measurement times and the quantity of stylus changes performed during the control cycle. The use of the MODUS software also reduced and optimised programming times. We have managed to reduce cycle times by between 30 and 50% and in some cases even more!”
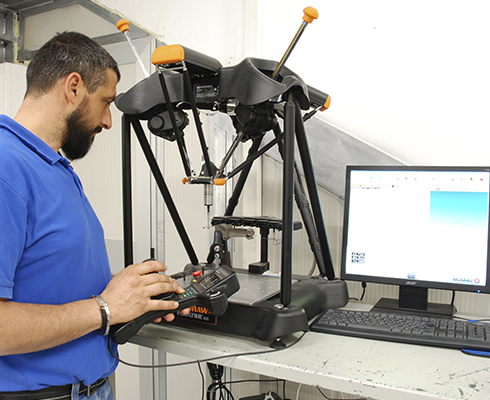
EMA also invested in a Renishaw Equator™ flexible gauge, which allows the company to check the geometry and shape of high volume parts quickly and efficiently.
“Thanks to the Renishaw Equator, we were able to pool all the checks necessary on certain components, which we previously performed using multiple gauge instruments. As a result, we significantly reduced check times of parts produced in high volumes,” concludes Mr. Rullo.
Renishaw PH20 and MODUS software
PH20's unique ‘head touches' allow measurement points to be taken by moving only the head rather than the CMM structure. Using only the rapid rotary motion of the head, points can be taken faster, and with improved accuracy and repeatability. Furthermore, 5-axis motion eliminates time spent indexing the head.
PH20's infinite positioning capability guarantees optimal feature access, minimising stylus changes. 5-axis simultaneous motion allows larger parts to be measured on the CMM by minimising the space required around the part for head rotation. PH20 automatically aligns itself with the part coordinate system, avoiding stylus collisions and the requirement for accurate fixtures.
The unique ‘inferred calibration' technique developed for PH20 determines the head orientation and probe position in a single operation, allowing subsequent measurement at any head angle.
PH20 is capable of aligning automatically with the work coordinate system: this avoids collisions and eliminates the need for complex fixturing.
The exclusive quick calibration system determines the orientation of the head and probe in a single operation, and makes it possible to take measurements from all angles.
Thanks to the MODUS metrology software, complex measurements and programming measuring cycles have been simplified. The software allows off-line development of advanced programs directly from CAD, with simulation, collision detection and screen-checking functions of the probe path. This makes it possible to minimise machine downtime; the programs reach the machine ready for use and testing times are reduced to a minimum or eliminated altogether.

Reproduced from original story by Ernesto Imperio (Tecnologie Meccaniche)

