Ta strona nie jest obecnie dostępna w Twoim języku. Możesz zapoznać się z tłumaczeniem automatycznym, korzystając z usługi Google Translate. Nie jesteśmy odpowiedzialni za świadczenie tej usługi, ani też wyniki tłumaczenia nie były przez nas sprawdzane.
Jeżeli chciałbyś uzyskać więcej pomocy skontaktuj się z nami.
Process control significantly reduces cycle time and delivery delays for automotive parts manufacturer
An increase in production orders for new breeds of high-volume and high-value automotive components required OMG to consider alternative approaches to part inspection. Investments in off-machine gauging and on-machine probing enabled the company to increase manufacturing throughput, avoid rejects and reduce scrap.
Background
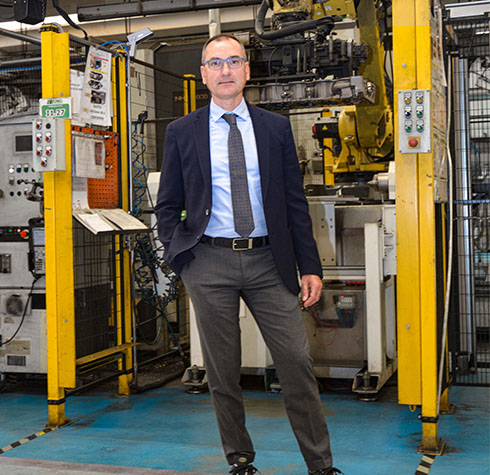
Giuseppe Spezzati, Sales Manager and Board Member OMG s.r.l. Officine Meccaniche
Established in 1949, OMG s.r.l Officine Meccaniche (OMG) manufactures high-tech mechanical parts and sub-assemblies for cars, vans, trucks and tractors. A third-generation business, the company has evolved rapidly, from simple sheet metal forming and tube bending to complex aluminium and cast-iron machining.
Its extensive manufacturing capabilities span a complete range of automotive component requirements, including engine blocks, cylinder heads and suspension assemblies. OMG's customers are worldwide, and it operates technology-leading factories in Turin (Italy), Valladolid (Spain) and Kaniow (Poland).
Central to OMG's success is maintaining close partnerships with its customers. The company is quick to adapt existing production lines to meet specific requirements, from adding new machinery, to setting up new systems and working closely with customers in product design and prototyping to develop an effective manufacturing solution.
Quality, of course, is an essential cornerstone of the OMG business. Long before the advent of global quality standards, the company had created its own methods, checks and documentation to ensure tolerance compliance and manufacturing consistency. Today the company is certified to the required ISO automotive and environmental standards.
The company offers latest generation 4- and 5-axis CNC machining, state-of-the-art robotic handling, extensive automation and is already geared up to meet the demands of Industry 4.0.
For many years Renishaw has played an important role as a technology partner to OMG, as Guido Mautino, Chief Operating Officer of OMG explains, "Our partnership with Renishaw began in the mid-1990s when we started machining our first engine heads. We needed to take precision measurements directly on the machining centres, so we turned to Renishaw for advice."
"Today we have 23 machining centres fitted with a range of Renishaw machine tool probes. Over the years, this has put us in a position to engage with a variety of global product markets where high precision measurement during production is a pre-requisite. All our CMMs are fitted with Renishaw PH10 motorised indexing heads."
Challenges
With forward-thinking new clients and next generation automotive product developments come new demands for process control solutions. Here, we consider two technical challenges where OMG had to find a completely new approach to part measurement.
Continuous, high-volume part control
A customer order for 400,000 automotive parts per annum destined for the German market saw OMG convert an existing CNC production line to dedicated continuous part production.
OMG needed to put in place a constant high-volume part measurement system that could dynamically adjust the machining process to correct for factors of process drift such as tool wear, ensuring parts are continuously produced without tolerance limits ever being reached.
Large aluminium part set-up and process control
The machining of a new internal combustion cylinder head and gas engine block in aluminium was subject to distortions due to heating effects and demanded very accurate machine centering and workpiece set-up. Some form of high-reliability on-machine probing solution was needed to once again avoid high-value reject parts and costly material wastage.
Competitiveness
From an overall commercial perspective, maintaining competitiveness in a crowded global market always remains a key challenge to be addressed, as Giuseppe Spezzati, Sales Manager and Board Member of OMG explains.
“As a business operating in a truly global market, we are fighting every day to stand out and stay ahead of the competition. Investments in new production methods and techniques are not just about efficiency, quality and eliminating loss, they are about making our service more attractive and interesting, and anticipating future client needs.”
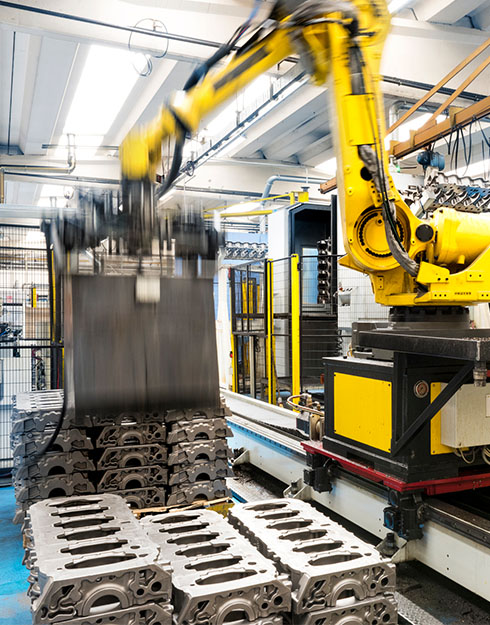
OMG specialises in mechanical metal machining
In an increasingly competitive market, raising manufacturing efficiency in order to reduce overall cycle times, production rejects and delivery delays is essential in maintaining customer satisfaction. Our investments into Renishaw solutions ensures that we achieve those goals.
OMG s.r.l Officine Meccaniche (Italy)
Solution
After consulting Renishaw on several alternative solutions, OMG elected to introduce the Equator™ gauging system for high-volume off-machine process control.
Equator is Renishaw's innovative gauging system. Following the traditional comparison of production parts to a reference master data set, the Equator gauging system delivers highly repeatable, thermally insensitive and easily reprogrammable gauging to the shop floor.
The Equator gauging system depends on a parallel kinematic constraint mechanism with high stiffness to ensure excellent scanning repeatability at fast operating speeds. Equipped with Renishaw's SP25 3-axis analogue scanning probe, the Equator system is capable of capturing 1,000 data points per second enabling 3-dimensional measurement and analysis of highly complex parts.
Commenting on the introduction of Equator at OMG, Mautino said, "Historically, all off-machine part gauges were rigid, custom-built and dedicated to a particular part. The Equator system is a major technological breakthrough for us. When the part geometry changes, the inspection programme changes and off we go again. It's fast, efficient and cost effective."
In the manufacture of the new engine block, OMG chose to use Renishaw's OMP60 optical transmission probe for the first time. A compact 3D touch-trigger probe, the OMP60 is used for both initial workpiece set-up and post-machining inspection on a wide range of 4- and 5-axis machining centres.
A compact 3D touch-trigger probe, the OMP60 is used for both initial workpiece set-up and post-machining inspection on a wide range of 4- and 5-axis machining centres.
The probe incorporates a proven kinematic design and interference-free secure modulated transmission to access previously difficult to reach workpiece areas. In this case, the OMP60 is used to verify valve seats, transmission gears and other key engine features.
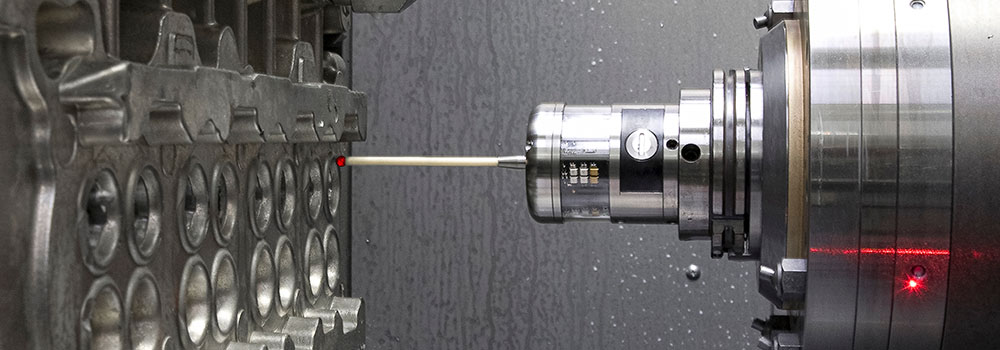
Renishaw OMP60 optical transmission probe measuring key engine features
Results
Introducing off-machine gauging and on-machine probing solutions has helped OMG to increase production throughput and eliminate rejects in both high-volume and high-value automotive part scenarios.
Spezzati said, “When we have annual high-volume batches of a certain part, if even just one hour of production incurs a drift in part measurements, this means we lose both time and money producing irrecoverable rejects. With Equator we prevent this from happening.”
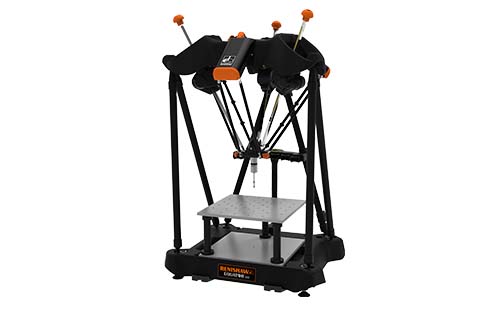
Equator™ 300 gauging system
