Improving machine tool accuracy with Renishaw FORTiS™ encoders and laser calibration systems
Machine tool accuracy is affected by a variety of environmental and physical factors including the thermal expansion of components, defects in the guide rails and bearings, and other geometric errors that occur during manufacturing.
Designers can mitigate against these sources of error by applying several strategies. Two ways of improving machine tool accuracy are: optimising the assembly process and compensating for thermal errors; and using high-performance position feedback and motion control.
By using laser calibration systems for quality control testing, assembly errors during the machine build are reduced, and accuracy verification and optimisation can be performed at the factory before shipment which improves machine tool quality.
In the design of machine tools for applications demanding superior motion control, closed-loop optical encoder systems are often chosen to provide direct position feedback from the linear axes.
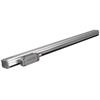
HEAKE Precision Technology Company LTD (HEAKE) has selected the Renishaw FORTiS enclosed linear encoder for its latest machining centres. It has also introduced the Renishaw XK10 alignment laser system for quality control of the assembly process.
Challenge
Quality in a CNC machine tool must be ensured at every stage from design to delivery and installation. Quality control testing includes machine casting and frame inspections, software debugging, geometric and positioning accuracy tests, cutting and running tests.
A strict inspection regime is implemented for all materials and parts in the supply chain. High quality castings are critical for machine tools as these determine the frame rigidity and stability.
Once a machine tool build process is complete, specific trials and tests are done to ensure that quality and accuracy meets the criteria for customer acceptance. All test data is fully documented for each machine to show that the machine tool is ready for use.
Machine builders often use a range of advanced metrology products in their pursuit of higher accuracy and performance.

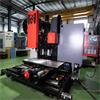
HEAKE vertical machining centre
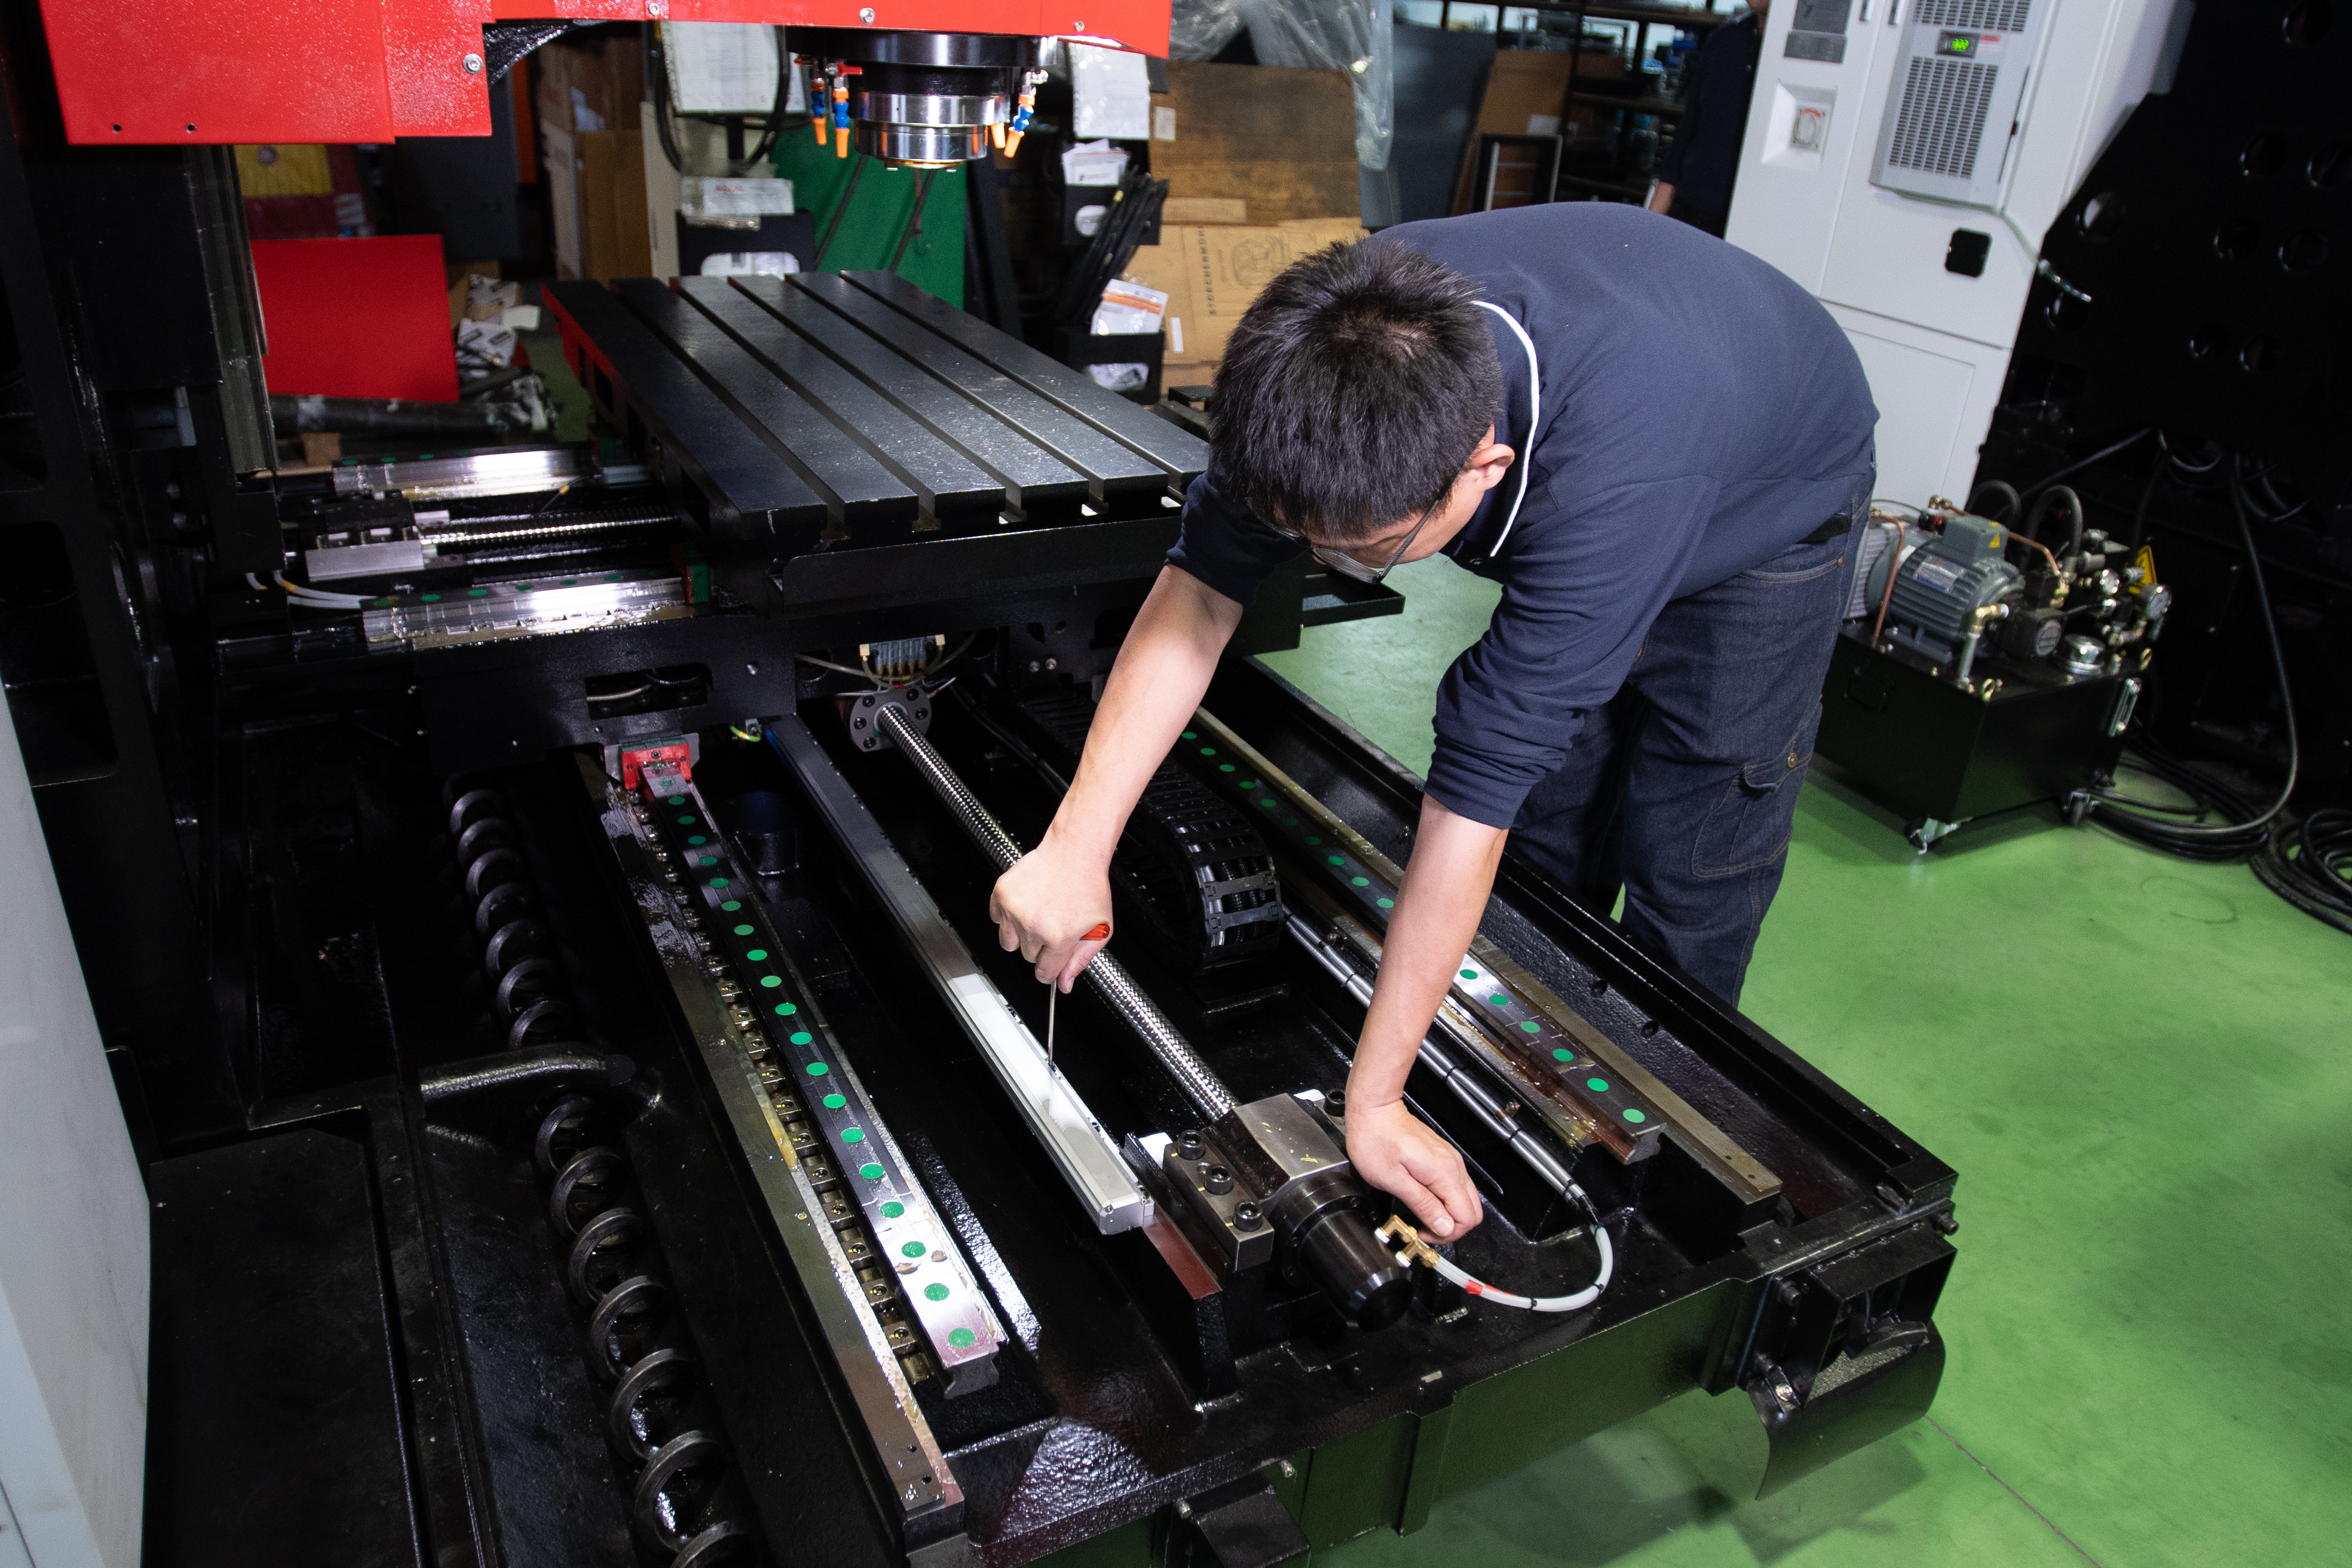
Installing the FORTiS encoder
Solution
Closed loop position feedback
HEAKE was an early adopter of Renishaw's FORTiS enclosed linear encoders that were first used on their LV1265 machine tool, which is a large vertical machining centre (VMC) with four axes. This model was well received by customers and features a stable structure and a large machine bed. As a result of this early success, HEAKE selected the FORTiS enclosed encoder for future machine models.
A design feature of HEAKE machine tools that improves accuracy and rigidity is the use of a ‘fully-supported' structure, which can avoid issues with machine bed overhangs caused by lateral (left and right) movements along the X-axis. The introduction of FORTiS encoders further improved machine tool accuracy.
HEAKE machine tools use FANUC, Mitsubishi and Siemens CNC controllers and FORTIS encoders are compatible with all these controller protocols. The encoder covers the full range of HEAKE machine axis lengths from 640 mm to beyond 2140 mm, and provides scale accuracy options of either 3 µm or 5 µm/m.
One of HEAKE's latest developments, the LH800 horizontal integrated machining centre, is equipped as standard with FORTiS-S enclosed encoders on each of the three linear axes.
This machine comprises a three-axis linear rail configuration, a moving column structure, a worm drive rotary table and proprietary self-developed control software. The rotary table has a positioning accuracy of 0.001 degrees (under 4 arc seconds).
HEAKE has partnered with Renishaw due to the impressive performance of the FORTiS encoder and Renishaw's excellent reputation in the machine tool industry.
Mr. Chen Qirui, General Manager of HEAKE, explained the reasons for choosing the FORTiS encoder:
The specifications of the FORTiS encoder series are at the top level in the market, and they perform better in terms of precision and accuracy than any other enclosed optical encoder brands.
FORTiS encoders are also very easy to install. By viewing the setup LEDs, it only takes us an average of seven minutes to install the encoder on each axis. Taking the HEAKE LH800 model as an example, the total installation time for the three axes is less than half an hour, which is twice as fast as the time taken with other encoder brands that were tried in the past. After installation is complete, HEAKE engineers also use the Renishaw ADTa diagnostic tool to re-check the encoder and archive calibration data for future reference by the customer.
The internal mechanics of traditional enclosed encoders include springs, guide rails, roller bearings and other components, which are prone to hysteresis and wear. The non-contact design of the FORTiS encoder substantially reduces this hysteresis and significantly improves encoder durability, avoiding the many shortcomings of traditional designs.

Mr Chen highlighted the advantages of using Renishaw's XK10 alignment laser system on the production line:
"From the start with the installation of the base castings, we use the XK10 system to ensure that each structure is assembled accurately to maintain the straightness and parallelism of the linear rails, which is critical. In the past, we used traditional tools such as granite squares and dial gauges to measure the machine. Unfortunately, these methods are cumbersome and slow, and often require two or three people to complete each measurement, which is both time-consuming and labour intensive.
After the introduction of the XK10 laser system, one person can complete all the measurements. The XK10 design is lightweight and portable, allowing us to move freely between machine tools on the production line. In addition, it has an intuitive software interface, and the generated reports provide detailed data which helps to increase customers' confidence in our machines."
After machine assembly, and before customer delivery, HEAKE uses the Renishaw XL-80 laser interferometer for final machine verification and error compensation, if required. Mr Chen said: “Renishaw calibration products have had good reviews in the market over many years. Laser interferometers like the XL-80 have long been the standard in the metrology industry and are highly regarded by machine tool customers. By using the XL-80 laser to validate our machine tools, we can win the trust of our customers and avoid any unnecessary issues during machine acceptance.”
![Heake Taiwan - FORTiS XK10 case study image [Language Independent]](/media/img/gen/9eb2ca6fed414f74ac8857483f50133a.jpg)
XK10 system measurement on machine rails
Laser alignment system
The Renishaw XK10 alignment laser system, which has a measurement range of 30 m, is used to reduce errors during the machine tool assembly process and perform accuracy verification and optimisation after manufacture.
This can improve the working accuracy of the machine tool.
The XK10 laser system can measure and record a range of geometric error types and solves many of the limitations of traditional measurement tools. For example, granite squares are only available in limited lengths and machines with axes longer than two metres require multiple measurements, which impacts accuracy.
For straightness measurements on axes exceeding lengths of 30 m, the XK10 system can combine multiple measurements with a data stitch function. In the past, data integration was a challenge as measurements were recorded by hand which increased the chances of errors. A key advantage of the XK10 system is that it can store data for internal control or automatically generate measurement reports for customers.
Traditional collimator and telescopic systems are complicated and time-consuming to set up for multi-axis measurements such as parallelism. The parallel measurement mode of the XK10 laser is designed for machine assembly and meets the needs of customers.
Results
Their machine tool position feedback systems use FORTiS-S enclosed encoders which are combined with Renishaw's industry-leading range of probing systems, shanks, and machine tool accessories.
Mr Chen concluded: “The synergy effect of using both FORTiS encoders and Renishaw's calibration products exceed our expectations. This not only maximises the overall performance of our machine tools, but also significantly improves production efficiency. Renishaw's technical teams also provided us with exceptional technical support — this one-stop service not only improves our testing efficiency, but also helps to eliminate unnecessary mistakes and the service delays we have experienced with other suppliers.”


