Tato stránka není v současné době k dispozici ve vašem jazyce. Automatizovaný překlad můžete zobrazit pomocí nástroje Google Translate. Neodpovídáme za poskytování této služby a výsledky překladu jsme nekontrolovali.
Potřebujete-li další pomoc, kontaktujte nás.
Raising the bar on rotary table accuracy
CNC rotary tables play a vital role in the performance of multi-axis machining centres. As table accuracy and reliability are of paramount concern throughout the product's lifetime, Matsumoto Machine Corporation (MMK) has taken a pragmatic two-pronged approach to reducing indexing errors and improving performance. By enhancing both product calibration and encoder technologies the company has set new standards for rotary table accuracy.
Background
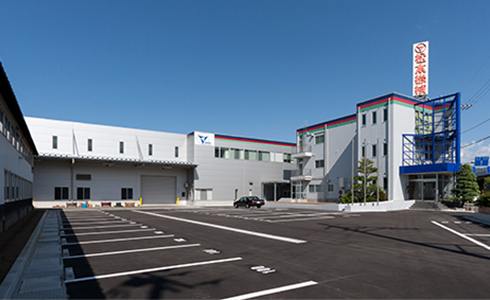
Founded in Japan in 1948, Matsumoto Machine Corporation is a technology-leading provider of innovative, high quality jaw chucks and numerically controlled rotary tables used by industrial machine tool makers throughout the world. A key feature of MMK's CNC rotary tables is a patented worm and wheel gear assembly developed by OTT GmbH, Germany. Unlike double lead worm gears, the OTT worm and wheel gear is able to minimise backlash, ensuring outstanding accuracy and long life, efficiency and durability.
Shaped in order to maximise gear surface contact area, thereby reducing adverse surface pressure effects, the OTT worm gear teeth are split into separate right and left parts (shank worm and hollow worm) connected by a span ring. This unique structure enables backlash adjustment simply by reducing the distance between the two parts. This design also ensures that only one side of a worm gear tooth is in contact with the wheel gear, leaving a clearance on the other side. As a result, the 2-piece split gear design will not seize up, even with zero backlash.
A further advantageous characteristic of the MMK CNC rotary table is a large diameter through-hole in the table spindle. This greatly increases machine versatility and rigidity, supporting a wider variety of chucks and jigs and the machining of longer workpieces.
By enabling most metal-machining operations to be undertaken on a single machine, the benefits of MMK CNC rotary table are far-reaching. These include the time and cost saving of single machine set-up and single fixturing setup, reduced parts handling and the elimination of tolerance errors as workpieces pass from machine to machine.
Of critical importance in this one-hit machining centre scenario is ensuring the high accuracy of CNC rotary table indexing and control throughout its working lifetime.

Challenge
As with any form of precision equipment that is integrated into a machining centre by a third party machine tool maker, and which in turn is used by an end user in any number of industrial sectors, assuring consistent accuracy and performance over time presents a challenge.
As with a machine tool's linear XYZ axes, the rotary axis is just as susceptible to uncontrollable events that may introduce angular positioning or axis alignment errors. Risking the production of defects in finished parts, these errors can be due to a number of reasons including, mistakes made in the initial machine installation, impact damage caused by collision or general wear-and-tear in use.
With its global reputation for product quality and design innovation, MMK therefore sought to equip its CNC rotary tables with a highly accurate and reliable means of tracking and controlling the indexing of its product throughout its lifetime, irrespective of the type of machine tool, workpiece complexity and duty cycle.
At the same time, in an increasingly competitive global market for CNC rotary tables, MMK also wanted to further enhance its product quality inspection processes. Specifically, the company set itself the task of augmenting index angle measurement as a key component of pre-shipment quality assurance procedures.


Solution
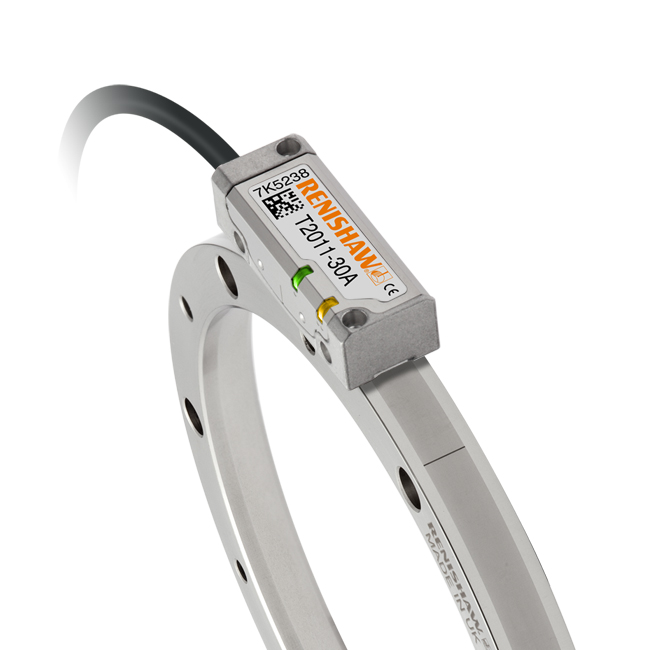
To provide machine tool makers and users with the ability to accurately track and control CNC rotary table indexing, MMK elected to integrate Renishaw's super-compact TONiC™ non-contact optical incremental encoder system. Simple to install and with a compact readhead measuring just 35 mm x 13.5 mm x 10 mm, the TONiC encoder presented MMK with a minimal footprint solution capable of supporting machine speeds up to 10 m/s and resolutions down to 1 nm.

The rotary table readhead was designed to be used in conjunction with Renishaw's RESM, a one-piece stainless steel ring marked on its periphery with 20 µm pitch graduations and featuring the IN-TRAC™ optical reference mark. With its low profile, large internal diameter and wide choice of diameters from 52 mm to 550 mm, the high stability RESM ring provided MMK with a versatile and easy to integrate scale that is well-suited to the company's wide range of CNC rotary tables.
For improved reliability and higher immunity to any scale degradation over time, the TONiC readhead incorporates third generation filtering optics, tuned for low noise (jitter) and further enhanced by dynamic signal processing. The outcome is an ultra-low sub-divisional error of typically ±30 nm. The TONiC encoder is compatible with industry standard controllers and features a detachable analogue or digital interface inside a robust D-type connector, which can be located up to 10 m from the readhead.
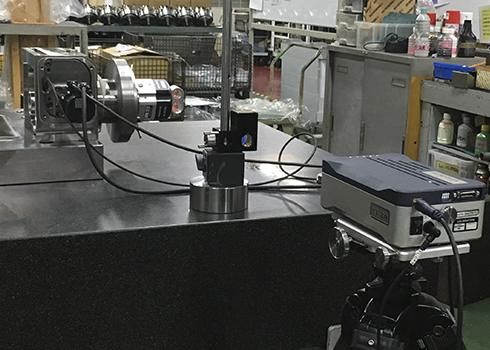
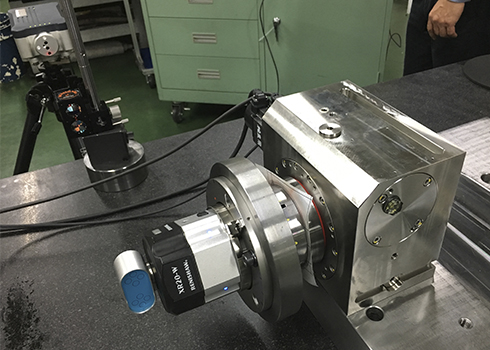
MMK selected Renishaw's compact and lightweight XR20-W rotary axis calibrator to verify the accuracy of its rotary tables during manufacturing and immediately prior to shipment. The XR20-W was used in conjunction with Renishaw's XL-80 laser interferometer to provide a non-contact reference measurement, independent of the axis under test, with an accuracy of ±1 arc second.
Motorised by a servo-controlled drive and with data capture synchronised to axis movement, the XR20-W requires no operator intervention during measurement. Being lithium battery powered and Bluetooth enabled, it ensures quick and easy setup, and the avoidance of trailing cable hazards. The calibrator's modular design and flexible mounting systems allow far easier setup than alternative solutions and can be readily configured for a wide variety of rotary tables, chucks and spindles.
Results
By integrating Renishaw's TONiC non-contact optical encoder system into its CNC rotary tables, MMK has further assured the accuracy and reliability of its products in the field, along with an overall superior motion control performance. For a wide range of different machine tools and end uses, the rotary tables' combination of compact readhead and one-piece stainless steel ring scale has delivered a higher level of tolerance to dust, scratches, grease and oil, and a reduction in indexing errors. The encoder system's ability to output highly stable position signals of unrivalled purity and ultra-low sub-divisional error have provided smoother velocity control, improved scanning performance and increased positional stability.
MMK's introduction of Renishaw's XR20-W rotary axis calibrator and XL-80 laser interferometer has reduced product measurement times by a half compared to conventional autocollimator techniques. Measurement procedures have been simplified and automated. Capable of taking accurate measurements at any indexing angle pitch, the calibrator enables evaluation of the accuracy of the worm and wheel gear-driven table for ultra-fine pitch measurement movements as small as 0.001°. This has allowed any loss of motion control or worm and wheel gear efficiency to be evaluated in detail and addressed. Product performance is now backed by a thorough analysis meeting ISO quality standards.

