Cette page n'est pas disponible actuellement dans votre langue. Vous pouvez en afficher une traduction automatique avec l'outil Google Translate. Cependant nous déclinons toute responsabilité quant à ce service et nous ne contrôlons pas les résultats de la traduction.
Pour en savoir plus à ce sujet, contactez-nous.
Renishaw reduces machining time for aerospace impeller manufacturer
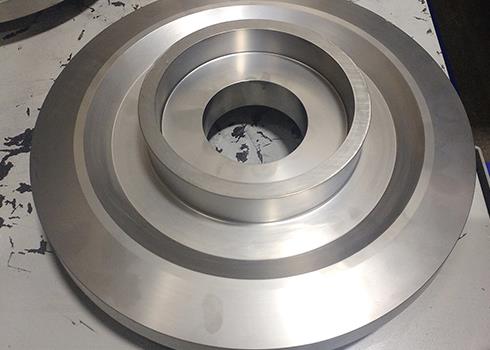
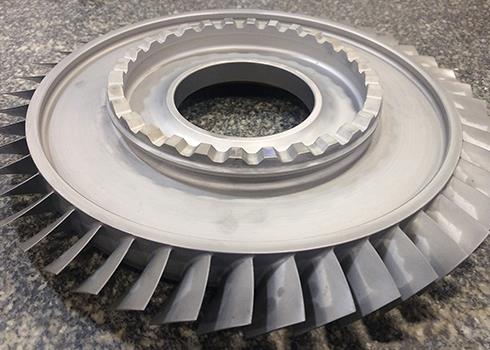
Honeywell Aerospace, part of global commercial and consumer engineering conglomerate Honeywell, produces a large number of the impellers and blisks used in commercial aeroplanes.
The impellers, which are essentially radial and axial compressors, rely on a workpiece datum being maintained throughout the machining process to ensure that they are suitable for use.
If the workpiece datum point is not maintained, the impeller will be considered incompatible and will require rework, repair or scrapping entirely.
To help maintain accuracy in the machining process, Honeywell turned to global engineering company Renishaw to supply a RMP600 high-accuracy machine tool probing system and Productivity+™ PC-based inspection software for machining centres. The technology allows Honeywell to take measurements prior to machining and detect any axial displacement early in the process.
Background
Honeywell conducts its impeller machining process at its manufacturing plant in Chihuahua, Mexico. Grinding, milling, turning and drilling processes are all carried out regularly and the facility is equipped with the latest machinery.
Impellers produced here come in various sizes from 14 inches to 17 inches in diameter. The majority are made of titanium, except for one, which is manufactured in aluminium.
The Chihuahua plant is a provider for the Honeywell assembly plant in Phoenix, Arizona, where aircraft turbines are assembled and tested.
If the workpiece datum of a finished part is off-centre, the impeller must be submitted for design analysis, in which a designer reviews the component and decides whether it can be used.
Each analysis costs approximately $66,900 per part and lengthens the manufacturing process. Production alone can take up to 60 hours, and uses around 130 tools, including assembly in the machine.
At Honeywell, this production time is scheduled over a two-week period. If the part is found to be off-centre after it is machined, the required analysis can take an additional week. This leads to machine downtime and delays in the workflow, both of which have an impact on the production time and the cost of manufacture.
Challenge
“During the impeller machining process, Honeywell found that the workpiece datum was not being maintained axially, resulting in an increase in the time taken to finish a part”, commented Raúl Barriga, Sales Director at Renishaw Mexico.
Axial displacement of the central point of origin can occur as a result of incorrect part set-up, which can be caused by operator error, a damaged fixture, and/or burrs left on the part from a previous machining operation.
Solution
When the first cycle of Honeywell's impeller production process came to an end, Luis Adrian Gallegos, Manufacturing Engineer at Honeywell, discussed the ways that the company could reduce misalignment during the machining process with his Quality Product Engineer.
“After the first cycle, we knew that we needed to improve our machining process, but didn't want to make a huge investment,” commented Gallegos. “We met with Renishaw to discuss the possibility of using a high-precision compact touch probe, along with Renishaw software, to measure the parts prior to machining and detect any misalignment so that they can be corrected before machining.
“After exploring our options, we decided to purchase an RMP600 machine tool probe with radio signal transmission. This offered all the benefits of automated job set-up and had the capacity to measure the geometry of complex 3D parts, such as our impellers.”
During the machining process, the Renishaw probe touches the part in various places to identify whether there are any errors or misalignments.
“The probe helps us detect any inaccuracies before a defect occurs”, continued Gallegos. “Previously, we had no way of identifying a problem until 16 hours of machining and over an hour of measuring had passed. We can now receive some warning that a part is incorrect and perform the necessary corrective actions before precious machining time and resources are wasted.”
“As well as investing in a probe, Honeywell also opted for PC-based inspection software, Productivity+, for its machining centres. This provided Honeywell with an easy-to-use programming environment for incorporating inspection probe routines and in-process decision making into machining cycles. The software helped simplify component set-up and part verification, and assisted in core areas of the machining process: process and job set-up, and part and tool identification. Productivity+ also helps in post-process reporting, as it gathers information about the completed process and helps with decision-making for subsequent operations and processes”, commented Barriga.
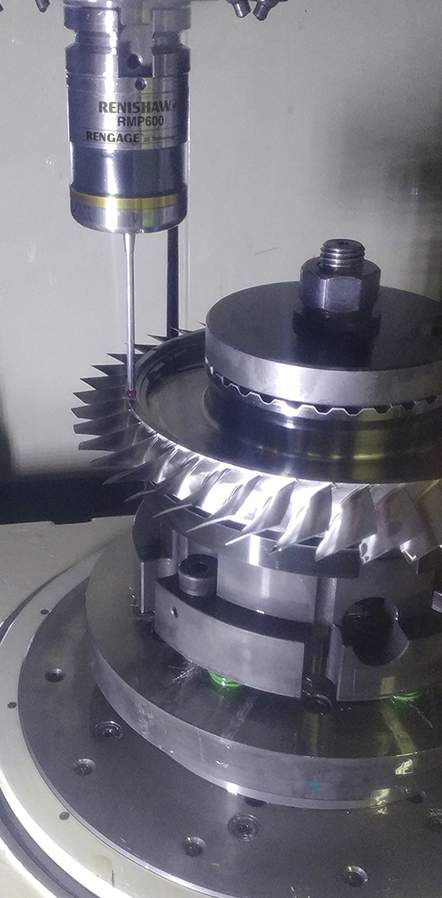
With the help of Renishaw's probe and software, Honeywell can be sure that the machining process will run as expected. Before implementing the new technology, the machine operator would fit the part, set the gauge and state the diameter and the faces. If any of this information was missed, inaccurate, or if the fixture was damaged, the final product would not be suitable. Now, we can nip any defects in the bud by detecting them in advance.
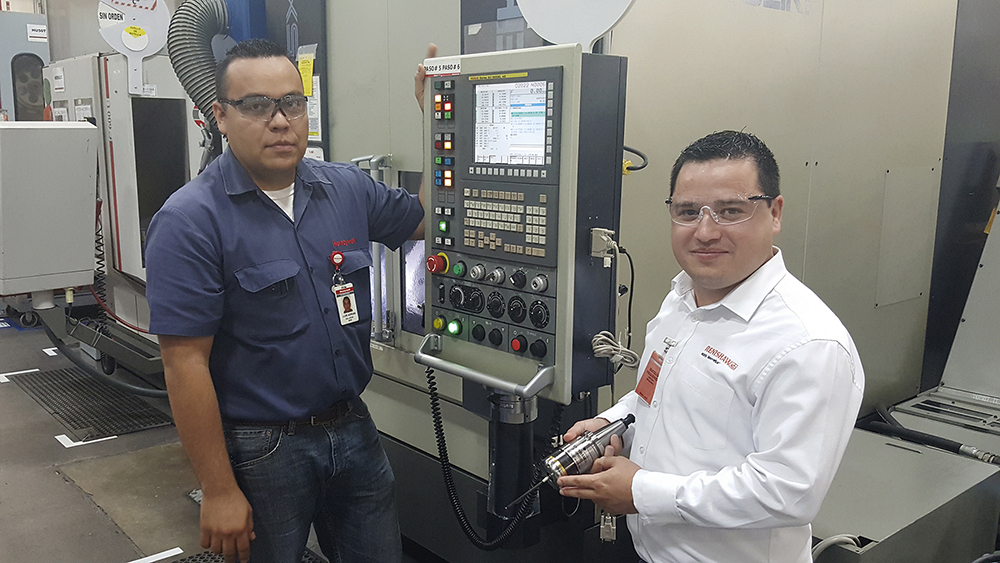
Honeywell Aerospace (Mexico)
Results
“Since we started using the RMP600 touch-probe and Productivity+ inspection software, we have had no discrepancies, scrap or faults in production”, said Gallegos. “The software helps perform control tasks during the machining process, such as monitoring the status of the tool, updating the tool measurement and adaptive machining, depending on the results gathered by the probe.”
“With the help of the Renishaw probe and software, Honeywell can be sure that the machining process will run as expected. Before the new technology was introduced, the machine operator would fit the part, set the gauge and state the diameter and the faces. If any of this information was missed, inaccurate, or if the fixture was damaged, the final product would not be suitable. Now, we can nip any defects in the bud by detecting them in advance.
“Although it was always possible to rework incorrect parts after machining, it did come at a cost to the business. Receiving real-time data from the Renishaw on-machine probing system helps eliminate the chance of the same problems occurring on multiple parts, as we are able to adapt the machining process based on feedback from the probe. Renishaw's equipment has helped us improve our machining process, reduce machine downtime and produce right-first-time impellers for today's commercial aerospace sector”, concluded Gallegos.
 Reproduced from Modern Machine Shop Mexico with express authorisation of Eduardo Tovar, Chief Editor of Modern Machine Shop Mexico.
