Navigation
Calibration procedures for MCG
A calibration report and calibration traces are supplied with each MCG kit. The traces supplied are as follows:
- Probe stylus ball roundness
- Pivot ball roundness
- Bearing runout - arm horizontal
- Bearing runout - arm at +45°
These results are summarised on the outside of the calibration report wallet.
Probe stylus ball
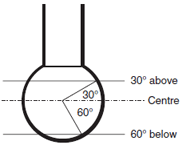
A trace is made to simulate the action encountered during probing with a stylus.
Probe stylus ball trace:

Pivot ball
The pivot ball roundness is a major influence on bearing runout. The trace is therefore included for reference.
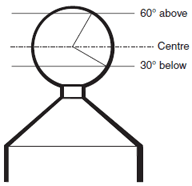
The trace is made to simulate the action encountered when the arm revolves about the pivot.
Pivot ball trace:

Bearing runout
Traces of bearing runout are made for all counterbalanced arms, at +45° incline and horizontally. This simulates the action encountered during measurement.
Bearing runout trace:

Total gauge error
The total gauge error comprises the following components:
Stylus ball roundness + bearing runout = total gauging error
Therefore:
0.25 µm maximum + 0.25 µm maximum = 0.50 µm maximum