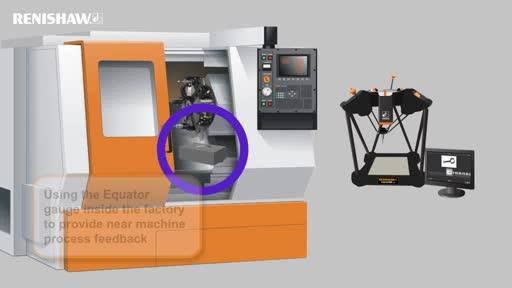
Equator™ gauging explained
With the patented low-cost design, unique construction and method of operation, Equator systems are a high speed comparative gauge for inspection of medium to high volume manufactured parts.
The Equator gauging system
The Equator gauge is unique in its design and method of operation, and has already changed the thinking of thousands of production engineers, making it their new gauge of choice.
Equator systems can be configured according to the needs of the application and manufacturing process with hardware, software and accessory options for both manual and automated operations.
Comparison process
Renishaw's Equator gauging systems are an innovative and highly repeatable gauging technology, based on the traditional comparison of production parts to a reference master part. Re-mastering is as swift as measuring a production part and immediately compensates for any change in the thermal conditions of a shop-floor environment. Equator systems can be used in factories with wide temperature variation – simply re-master and the system is ‘re-zeroed', ready for repeatable comparison to the master.
A master part is measured to generate a master data set. The same measurement routine is used to measure each production part. Each production data set is then compared to the master data set to determine the actual size of the part and whether it is within user defined tolerances.
CMM Compare
With CMM Compare the calibrated absolute accuracy of the CMM can be ‘extended' onto the shop floor to provide traceability to Equator gauging measurements. The CMM measures the master part, generating a calibration (.cal) file which is transferred to the Equator system. Any production part can be used as a master part.
The calibration (.cal) file is read during "mastering" to enable individual points to be compared with data from measurement of the production parts.
Feature Compare
Feature Compare is an alternative to CMM Compare which makes the process of calibrating the master part very easy. With Feature Compare the user can simply take the master part measurement data from an inspection report and manually enter the actual values for each feature's size, position or orientation.
The master part can be measured in a number of ways, including on a CMM or with calibrated hand gauges.
Golden Compare
A final alternative compare method is Golden Compare, which uses a golden master part to calibrate the Equator gauging system. The Golden Compare procedure presumes that the master part is produced to drawing nominal. This means that any deviation of the golden master part from drawing nominals will be included in measurements.
This process differs from the other compare procedures in that there is no requirement to first calibrate the master part.
Certificates
-
 Declaration of conformity: Equator gauging machine ECD2017-71
-
 Declaration of conformity: 2012-32 Equator™ 300 Extended Height
-
 Declaration of conformity: Equator controller ECD2017-76
-
 Declaration of conformity: 2013-14 Equator machine I/O interface unit
-
 Declaration of conformity: 2014-04 EQ-IO Equator™ machine I/O interface
-
 Declaration of conformity: EQ-ATS EUD2017-164
